
A friend of mine, who has a cabin in Wyoming, had made some canoes and kayaks. The ceadar strip canoes are so beutiful that I had to have one myself.
When I was very young, my fater built a couple of open kayaks from a kit. I have always wanted to build a boat for myself and the cedar strip canoe seemed like a fun project. Unlike my friend, I did not purchase my strips. I made them by cutting cedar two by fours into one inch by quarter inch strips. I purchased some cove and bead router bits and routed the edges so that they would interlock.
When building the canoe, I used a table saw to cut the wood. There was a lot of waste to sawdust and the strips were not very uniform. This caused problems for me later. The strips were too wide and because of the lack of a uniform thickness, I had a large amount of work to make the hull fair. I also used epoxy to glue the strips together. This was very messy and dificult to clean up. It also made the job of fairing the hull a little worse. The canoe ended up a bit heavier than it should as well. The up side is that where the strips did not fit tightly together, the epoxy filled in the cracks well.
Later when I started the kayak, I purchased a portable thickness planer and received a band saw for Christmas. The addition of the band saw and planer were an enormous change. I also started to use a water proof carpenters' glue that came ready to use in a nice dispensing bottle and I could clean myself up a lot easier. I cut my strips only a half inch wide and this made bending the strips over the curves of the hull much easier.
For the design of the kayak, I downloaded a 3D CAD program from the web and drew out the kayak. I was intending to follow the baidarka style. I added some things I liked about my 505 and ended up with something that looks a bit boaty. Because the kids and I do so much together it is a three hole monster. I do not have the room or the ability to pack a twenty-five plus foot kayak, so I am making it about twenty-one feet long with a wide twenty-nine inch beam. I have the hull mostly stripped and will start on the deck soon. Since the deck is not so curvy, I'll attempt a little bit of a design to it and use wider strips for most of the surface.
I'm not sure how it will handle and as usual, I am getting discouraged as I get close to the end. I am hoping that like the canoe, the kayak will turn out as planned and handle well. I'd like to take the kids up to the primitive area at Shoshone lake in Yellowstone Park. I made the trip several times with my parents when I was small and again with my brother and a friend in my teen years. I'd like to get my kids hooked on nature before they reach their teens.
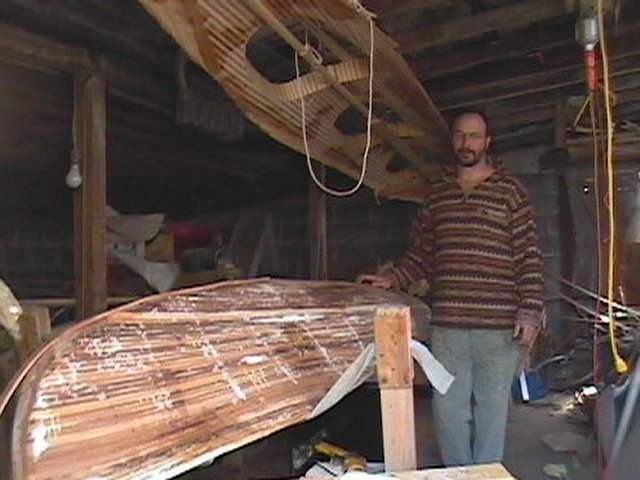
As you can see, my work area leaves a lot to be desired. It was cold, dark, and I kept hitting my head on the bottles hanging from the cealing. It used to be and old chicken coup and is rather old. Some may notice that I made the strong back ( the box the mold sits on ) a little too long. The plans I had did not give a length for the strongback so I used the plans for one from a different style. This only caused problems when I got the the peak of the stems.
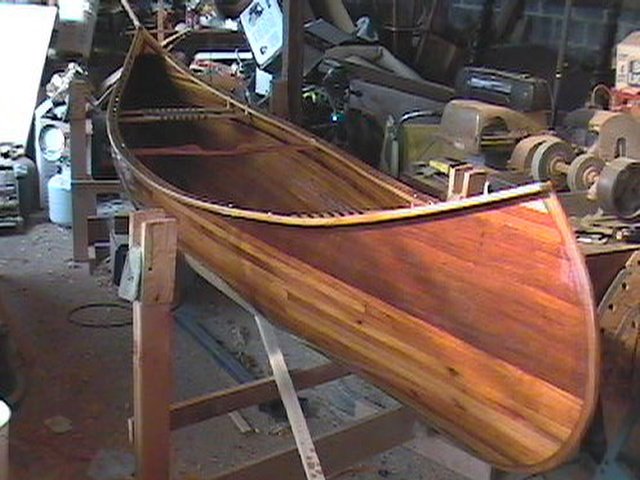
Here is a photo of the hull after it had been finished on the outside and removed from the mold. As you can see, the epoxy realy makes the work worth the effort. I used six ounce glass cloth and Gideon Brothers System 7 epoxy with the clear coat hardener. The metered pumps are a must. The epoxy I mixed to glue the strips together was a general purpose epoxy from the hardware store and mixed by the eye. This was inconsistent and some batches cured faster than others.

I saved the trimming of the rail until after I had glassed the inside of the hull. I thought that this would ensure that the rail would be clean and require less adjustments after the inwale and outwale are added. Now it is starting to look like more than a messy bunch of wood.

I made scuppers in the inwale to make the rails look nicer and make it easier to dump the water that gets in the canoe from feet, paddles, waves, and capsizes. The yoke is made of cherry and the seats are ash, both of wich I purchased. The rails were made of ash that purchased at a local specialty lumber yard. The rock saw of my fathers, is very handy for sharpening tools as I go.
Here is a photo of the proud owners of a new home made canoe.

I decided to get a little cute with the decks. I had some dark cedar I used to make the padles and some lighter cedar that was left over from the strips that I laminated to for the decks.

Here is a photo of the canoe on the snow. I completed it on New Year's Eve of 2000. Kam and I took it for a paddle one one of the local lakes a couple of weeks later. The lake was mostly frozen over and the sound of the broken ice banging on the windward edge of the ice was like wind chimes. You could hear it through the hull as well as in the air. The canoe hadles well and we had a great time together.

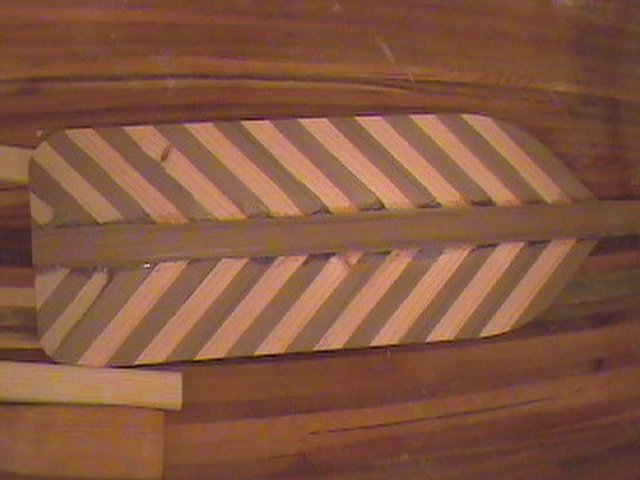
Here is a photo of one of the canoe paddles I made. The blade is a little large and I may cut it down a bit at some point. I'll use it a while before I make a decision. The paddles and the canoe make quite and impression when you launch. There are not many boats in this area that were built in this manner.
This is a photo of the kids paddling the canoe and a stitch and glue kayak my father made. The kids have fun when I let them take of on their own. On this day they were in the marina at Great Salt Lake so I do not have to worry about them gettin too far and into trouble.

Now for some early photo's of the kayak. Here is a photo of the forms for the kayak. The strongback is some two by fours joined together to give me the nineteen feet I needed to put the molds on. The molds are cross sections of the hull and include the deck as well. This is why the stronback goes through the molds instead of being a box the molds sit on. This thing is a monster and a littld hard to get around.
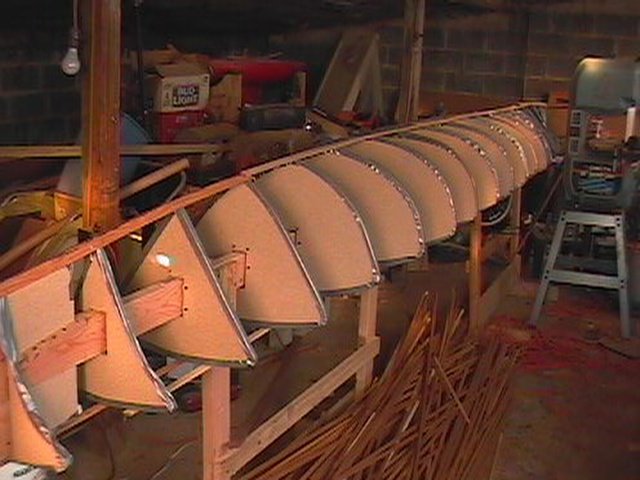
As you can see, I have planned to put in some flair to the ends much like there was on my 505. I'm starting to think this was a bit of a mistake because it has reduced the amount of storeage I have in the ends and there will not be a planing surface for surfing large waves. Part of the design of the baidarka with a broader bow and stern than a greenland kayak, is that the bow should ride up over the waves and the stern is full and abrieviated so that the stern does not sink into the following seas.
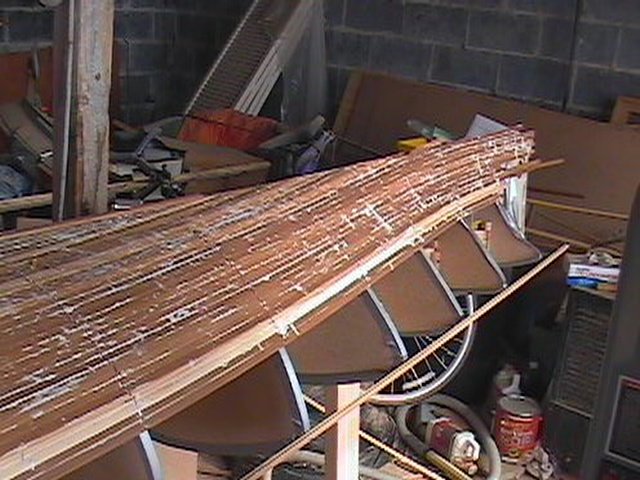
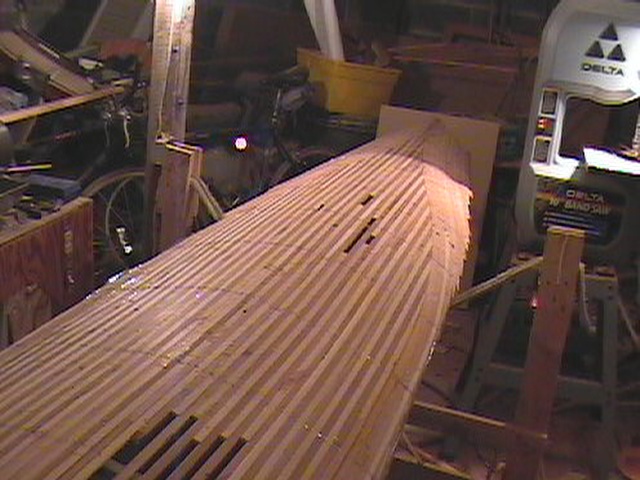
This will give you a good idea of the size of this monster. The double white line from the strips is the designed water line. It was funny. When I was building the hull, I could not find many "clear" lengths of light cedar for the strips. When I started on the deck I could not find dark wood. The deck will be lighter and I'm not sure what the design will be. Time will tell.

I have finished the raw construction of the deck. Here you see a photo of the deck before the cockpit holes are cut. The spots where ther are gaps in the deck strips are where the cockpits will go. I thought it would save a lot of wood but I found that in order to keep the deck flowing smoothly from cockpit to cockpit and the lines staight, I ended not saving much time or wood.
Here is a photo of the deck with the cockpit holes cut and the coamings constructed. This was an adventure. I had a hard time getting enough of each color so that I could get a good dark - light banding and keep the strips lined up at the top. I ended up putting a tie - down strap that had a tightening rachet on them to hold the tops together while the glue dried. I'll glass the under side first and then fair the inside of the hull. I want to put the deck and hull together before I fair the outside so that I can overlap the glass when I glass the outside and make the joint between deck and hull as smooth as I can.
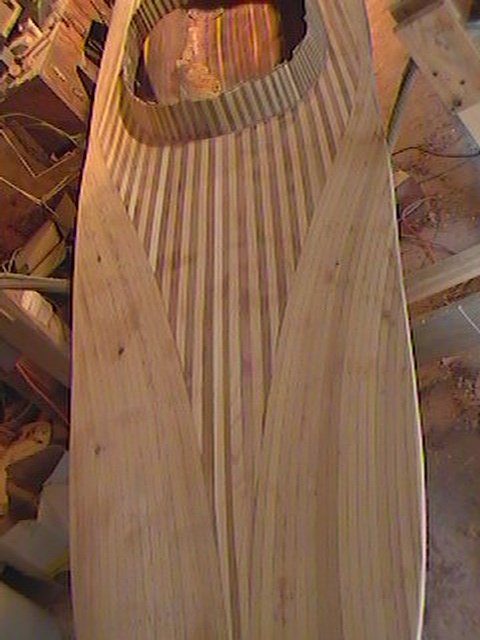
Here is a good look at the design of the deck pattern.
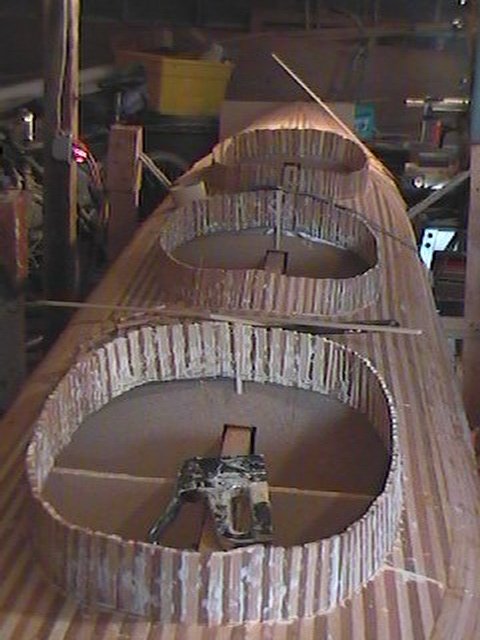
The view of the cockpits with the deck sanded and faired.
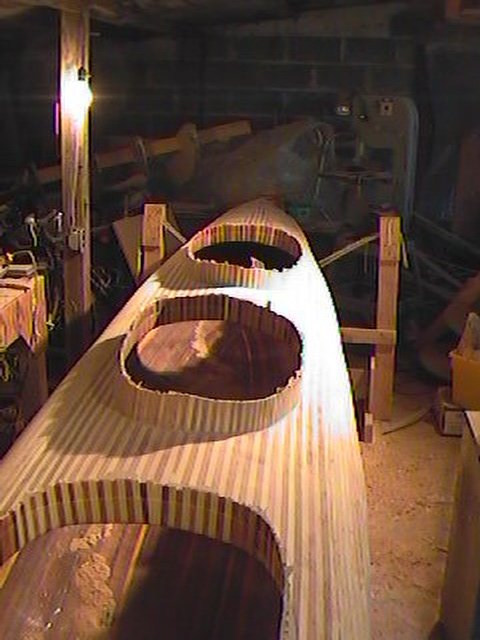
Here is a shot my son took of me with the deck suspended above the work area so that I can work on the stem ends and fair the hull. As you can see it is rather dark and cramped. It was interesting squeezing past the ends to get from one side to the other.
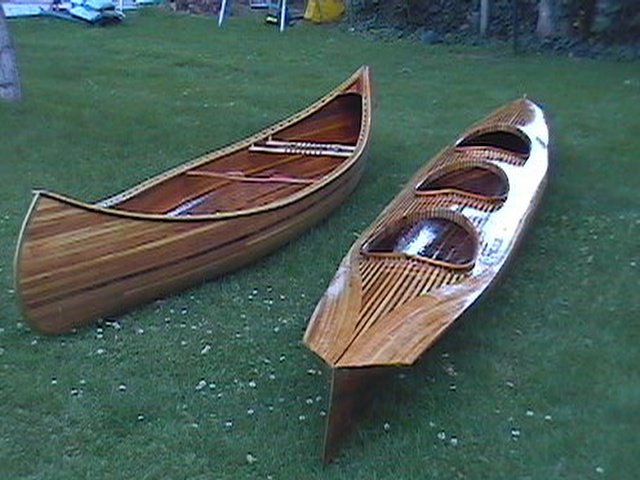
Here is a look at both the finished canoe and the kayak. The canoe is sixteen feet in length and the kayak is about twenty-one feet long and twenty-nine inches wide. Because of the flat bottom and narrow ends, she turns like the Queen Elizabeth. The kayak paddles well and in a lot more stable than I originaly thought. I can usually maintain a cruising speed of four to five knots for miles. I have been able to paddle with the kids in the ends in choppy waves and wind. In all I am please with the way "Tooth Walker" turned out. If I could do it again, I would have made the ends a little fuller.
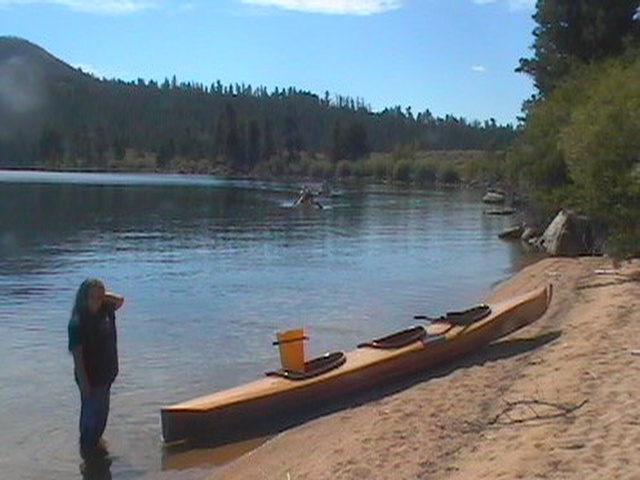
This is a photo from Half Moon lake in the Wind River Mountains in Wyoming. Some friends of ours, my boat building mentor, have a cabin just south of there and we have been lucky to be invited to visit. This year I took the canoe and kayak up so we did not have to borrow his. The cabin is on the bank of the New Fork river and we took a couple of float trips with the canoes. One day we went up to Half Moon lake with his canoe and my canoe and kayak. We had a great time and Katie and I had fun surfing the waves back to the launch site in the canoe.
For the next project, I have plans coming from the Mystic Seaport. I'll keep you posted.
 You
can send me mail at my e-mail address.
You
can send me mail at my e-mail address.
 Back
to my home page.
Back
to my home page.