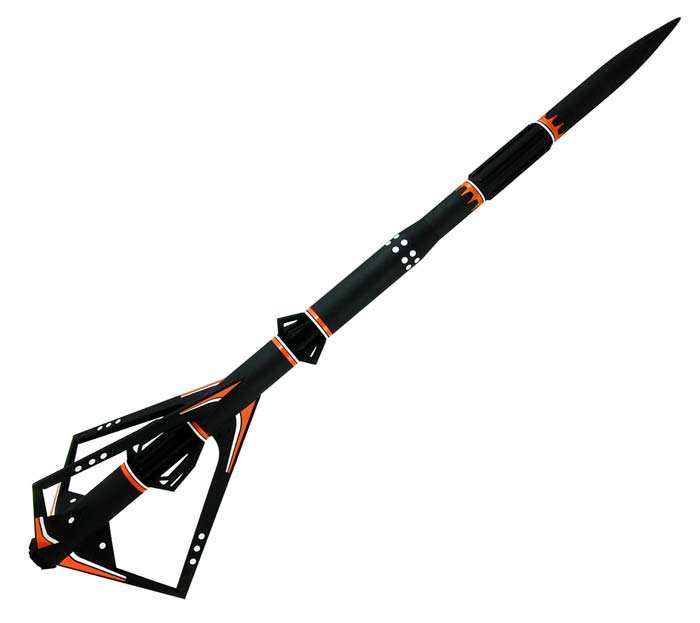
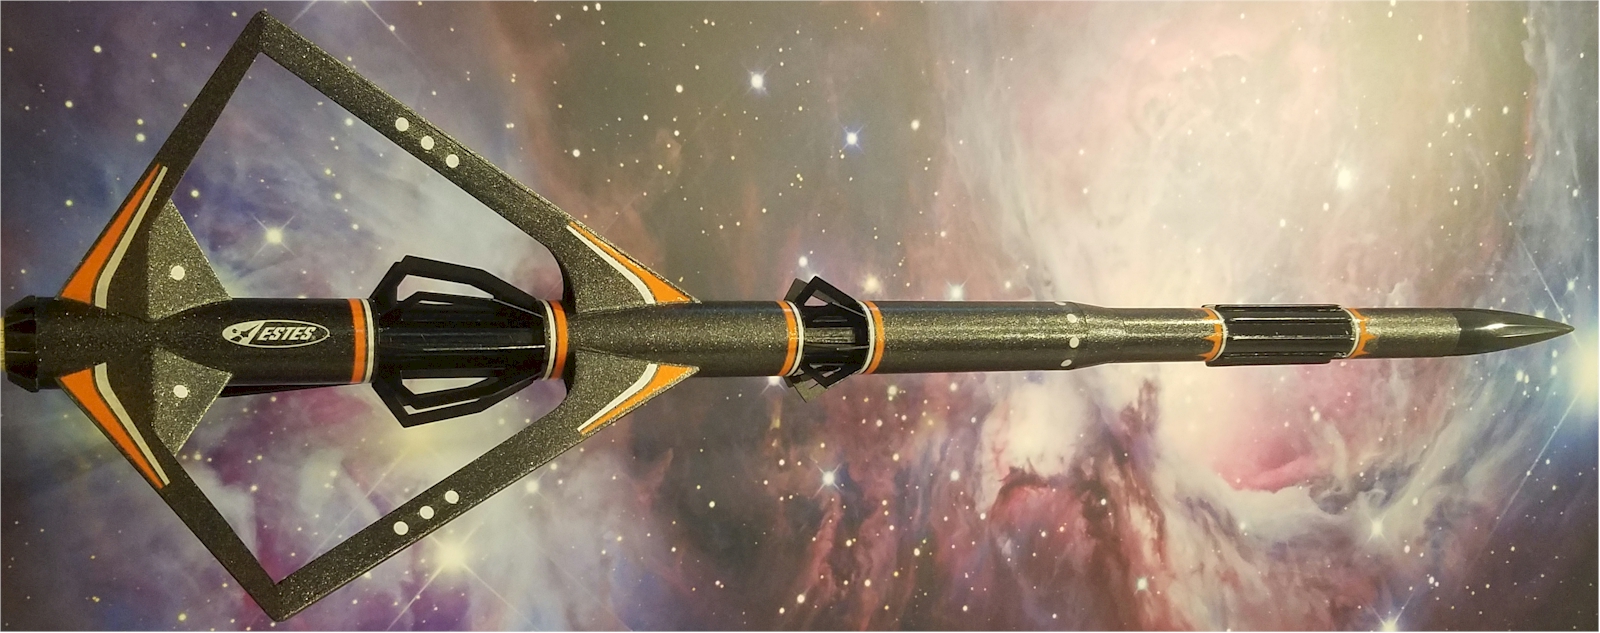
Estes Black Star Voyager - # 7222
SPECS:
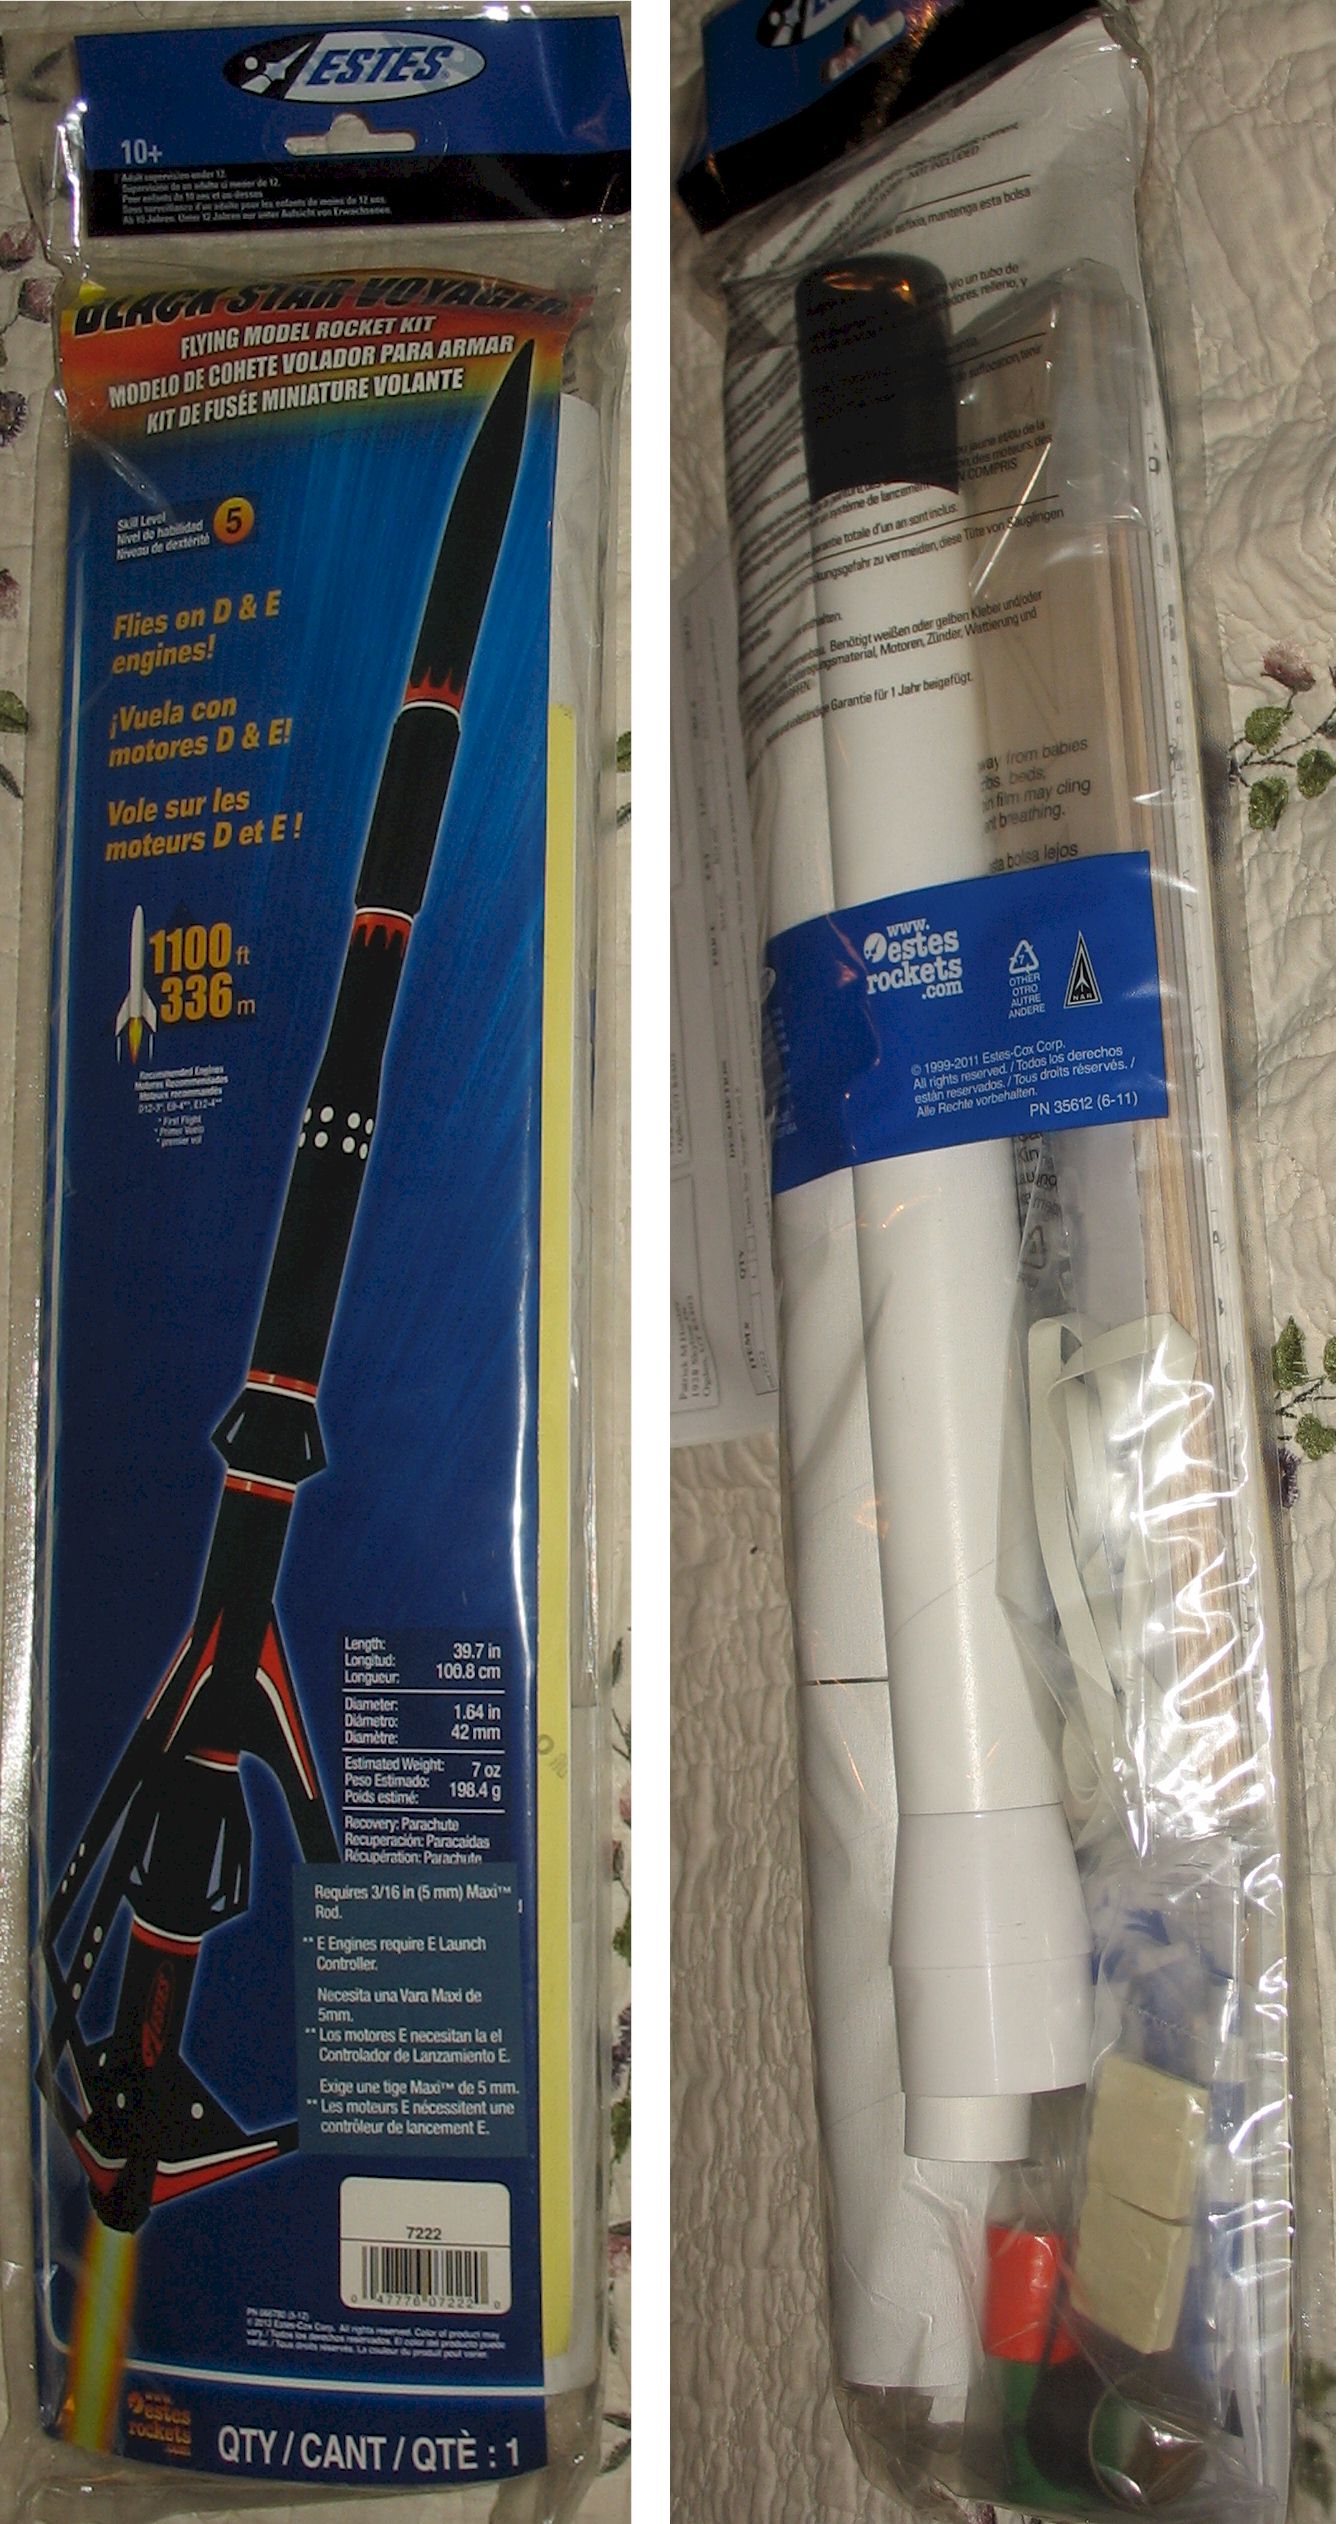
Length: 39.7 in.
Diameter: 1.64 in.
Weight: 7 oz (198.4 g)
Engine: D12-3 (First Flight), *E9-4, *E12-4
Recovery: 18 in. (46 cm) Parachute
Features
Skill Level 5
Max Altitude: 1100 feet
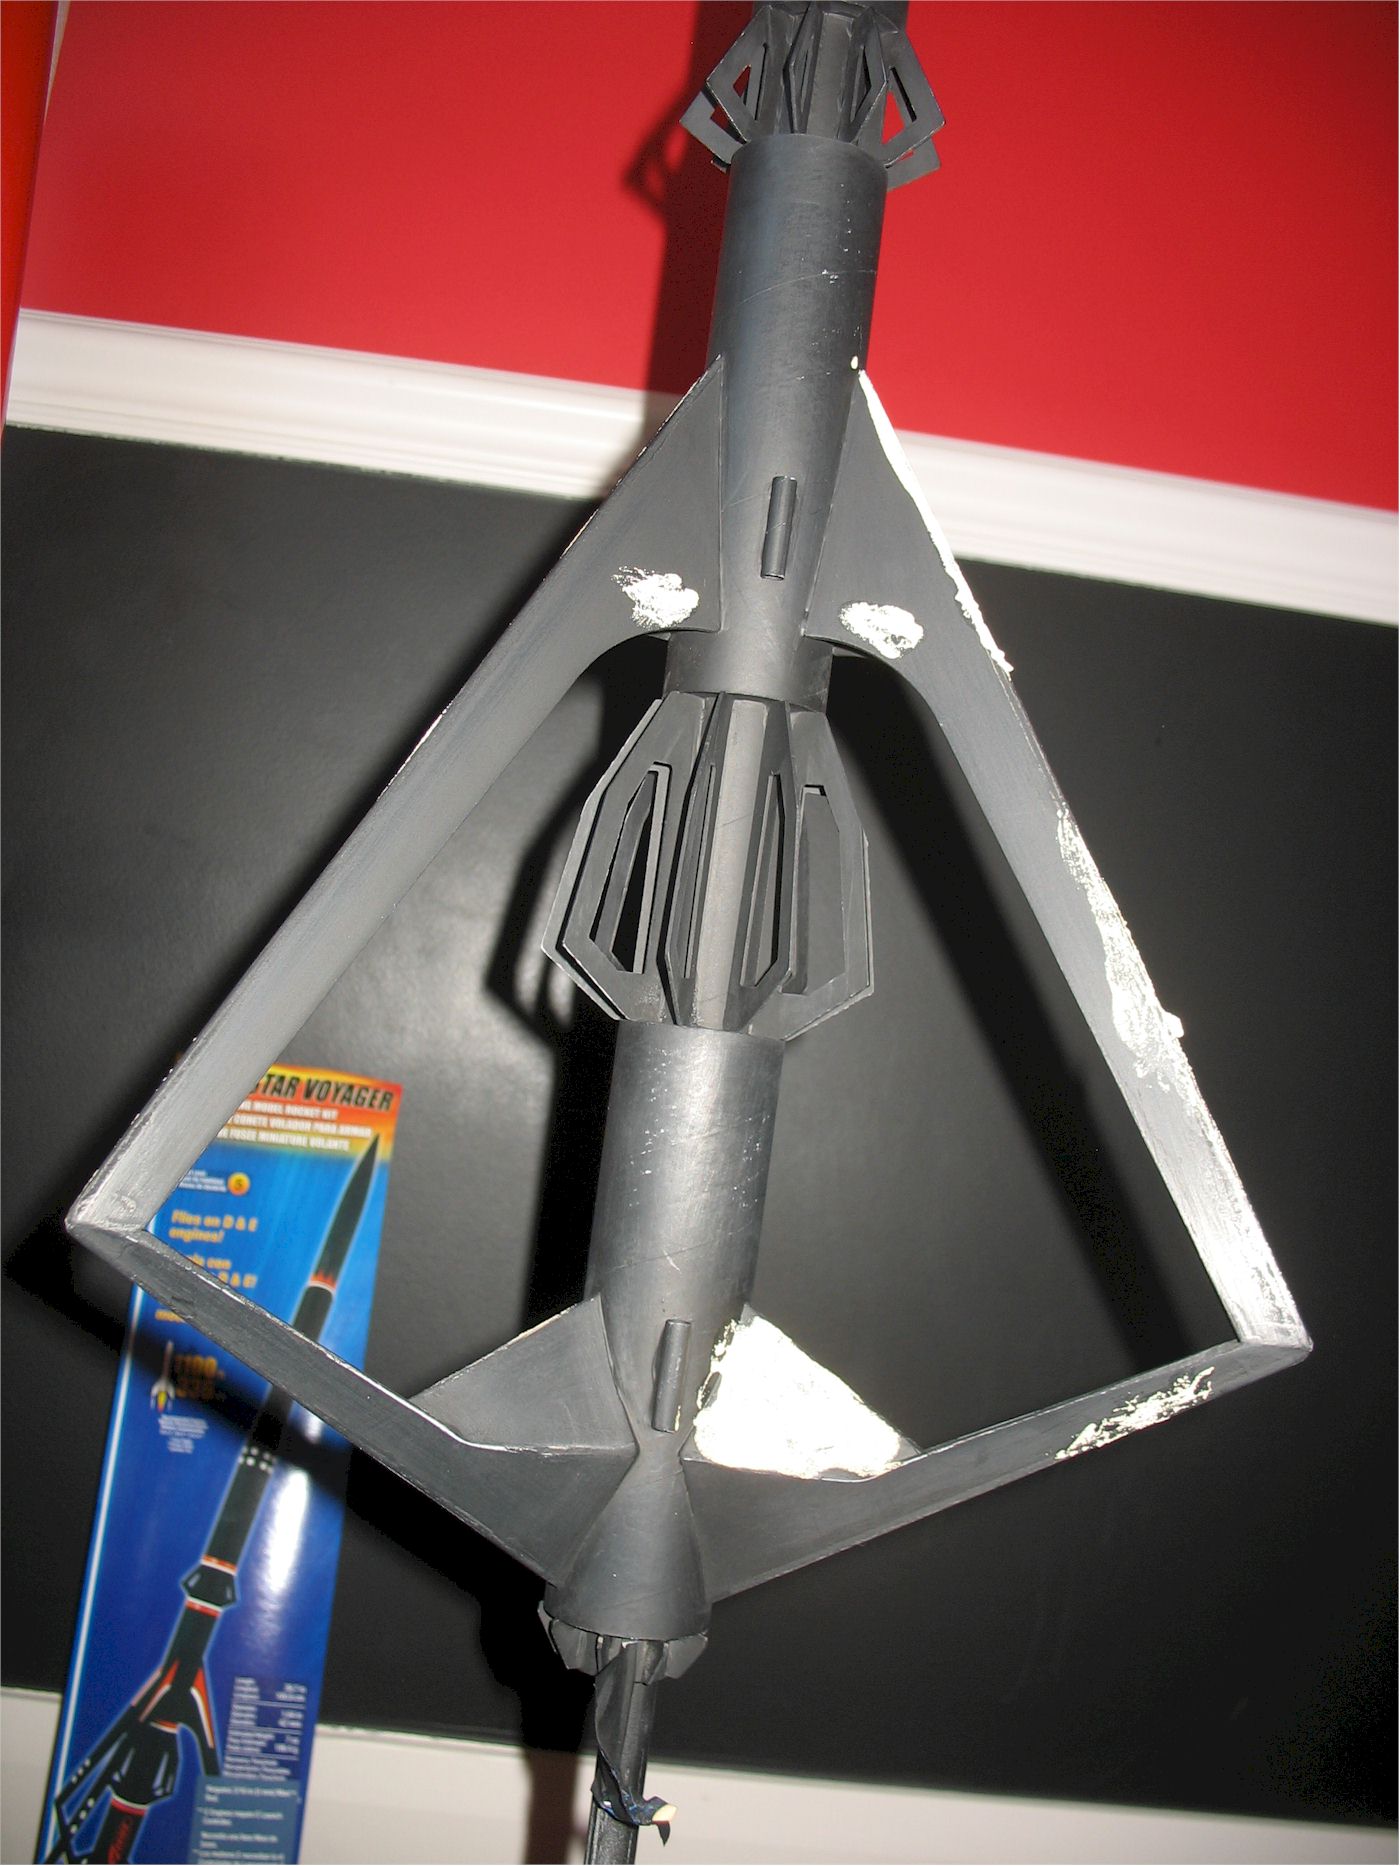
(Way) Cool Sci-fi Design! (Thanks John Boren!)
Laser-cut Balsa Fins!
Water-slide Decals
Purchased 12/2013 from Hobby Linc
Requires Estes E™ Launch Controller, when launching E Engines
(note to self: Get an E launch controller!)
Photos
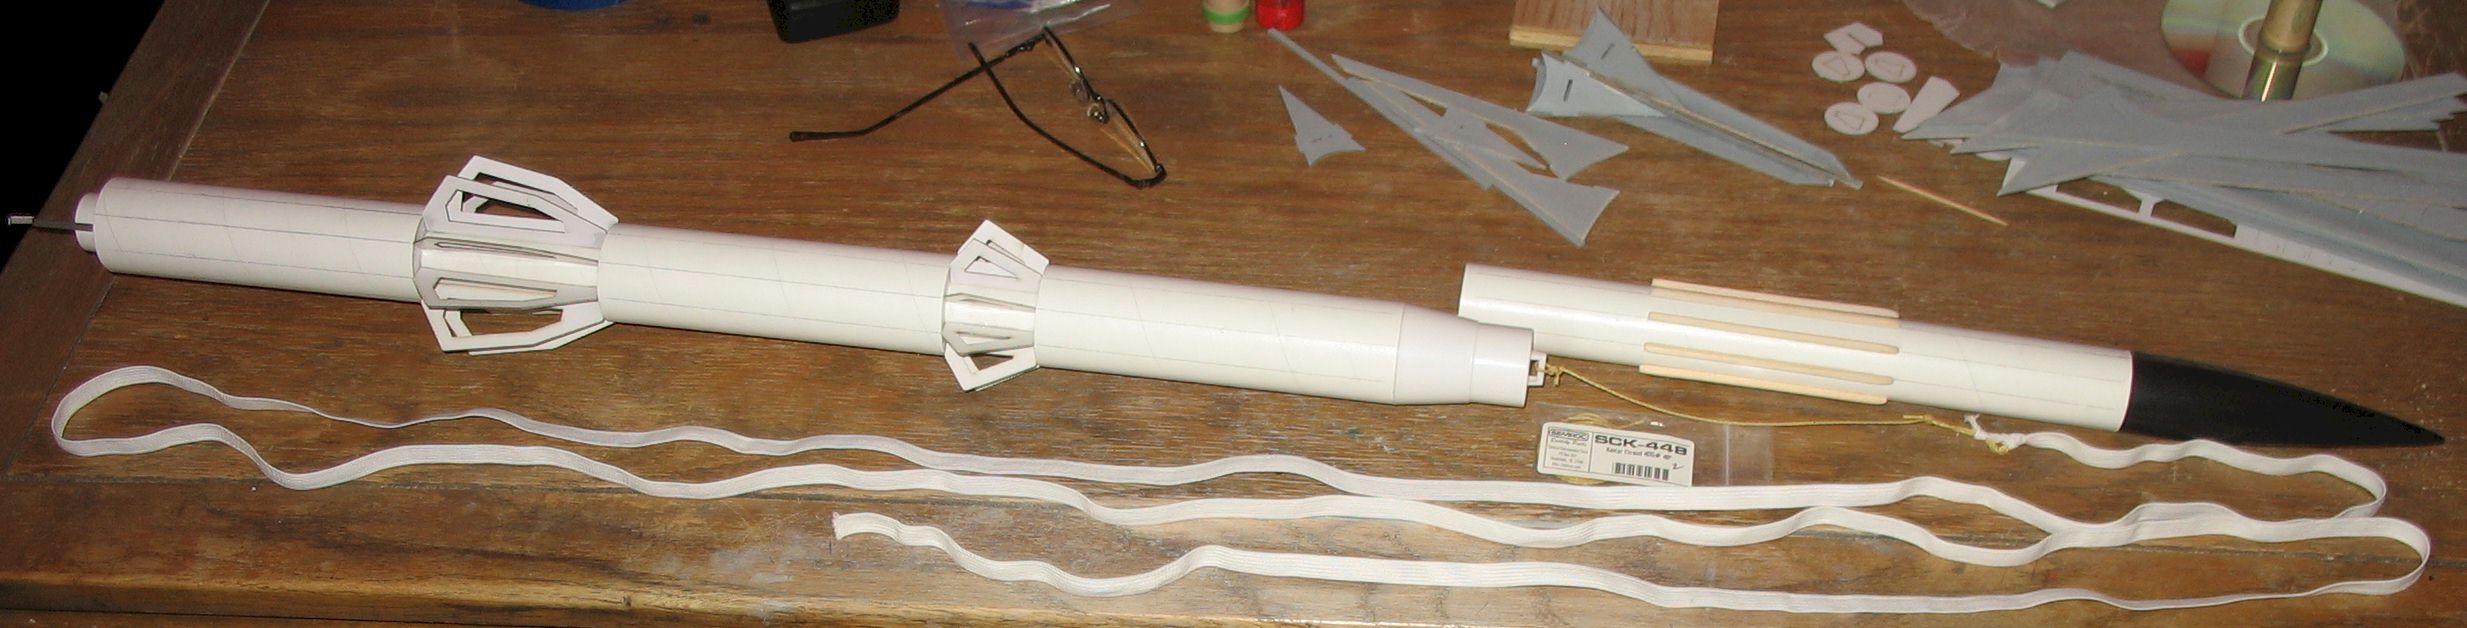
Arrived in great shape:
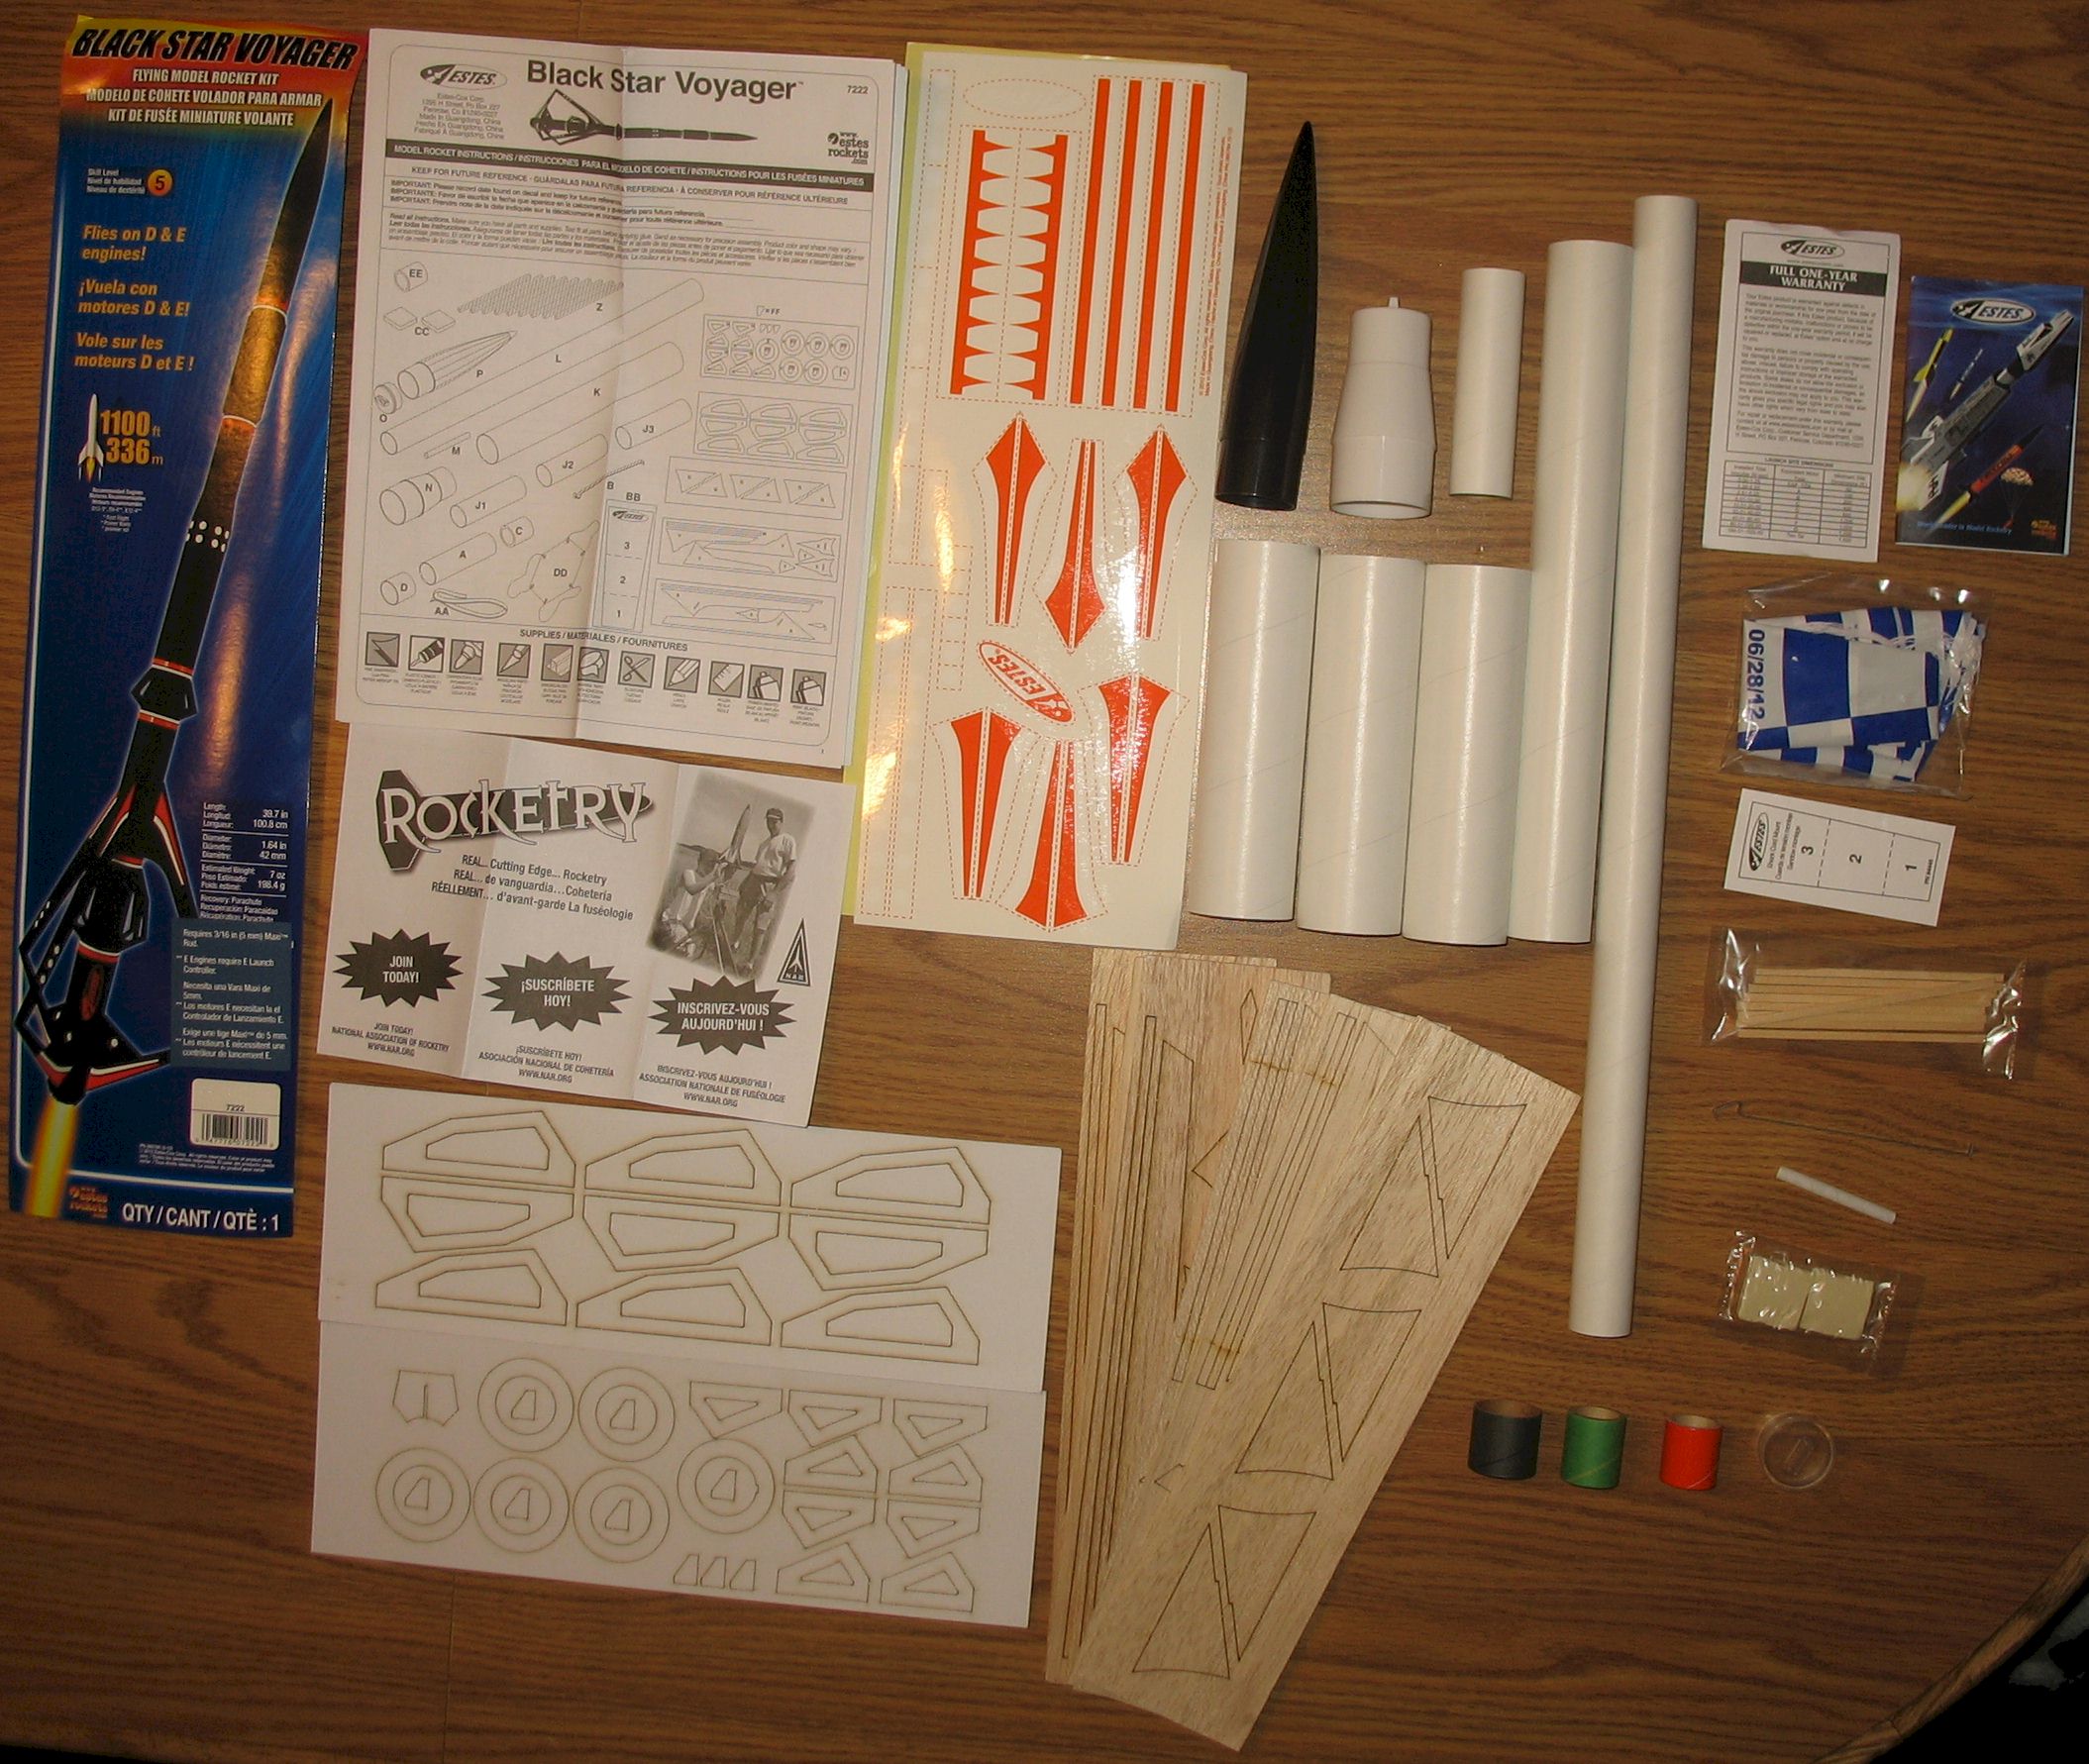
The required parts shot!
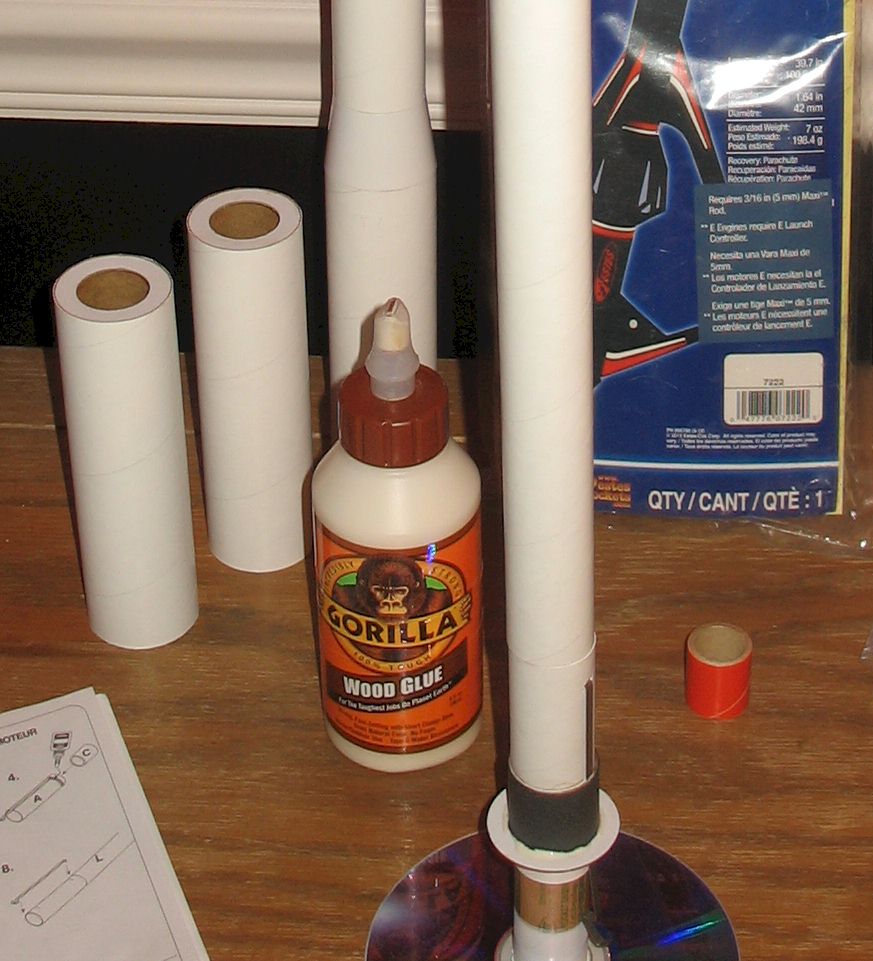
Gorilla and Elmers wood glue used - I like the Elmers tip much better!
Someone on TRF recommended using automotive primer to fill in grains. It's suppossed to sand off easy? Lets try it!
I'm using gray Rust-oleum filler primer (put 3 THICK coats per side!) 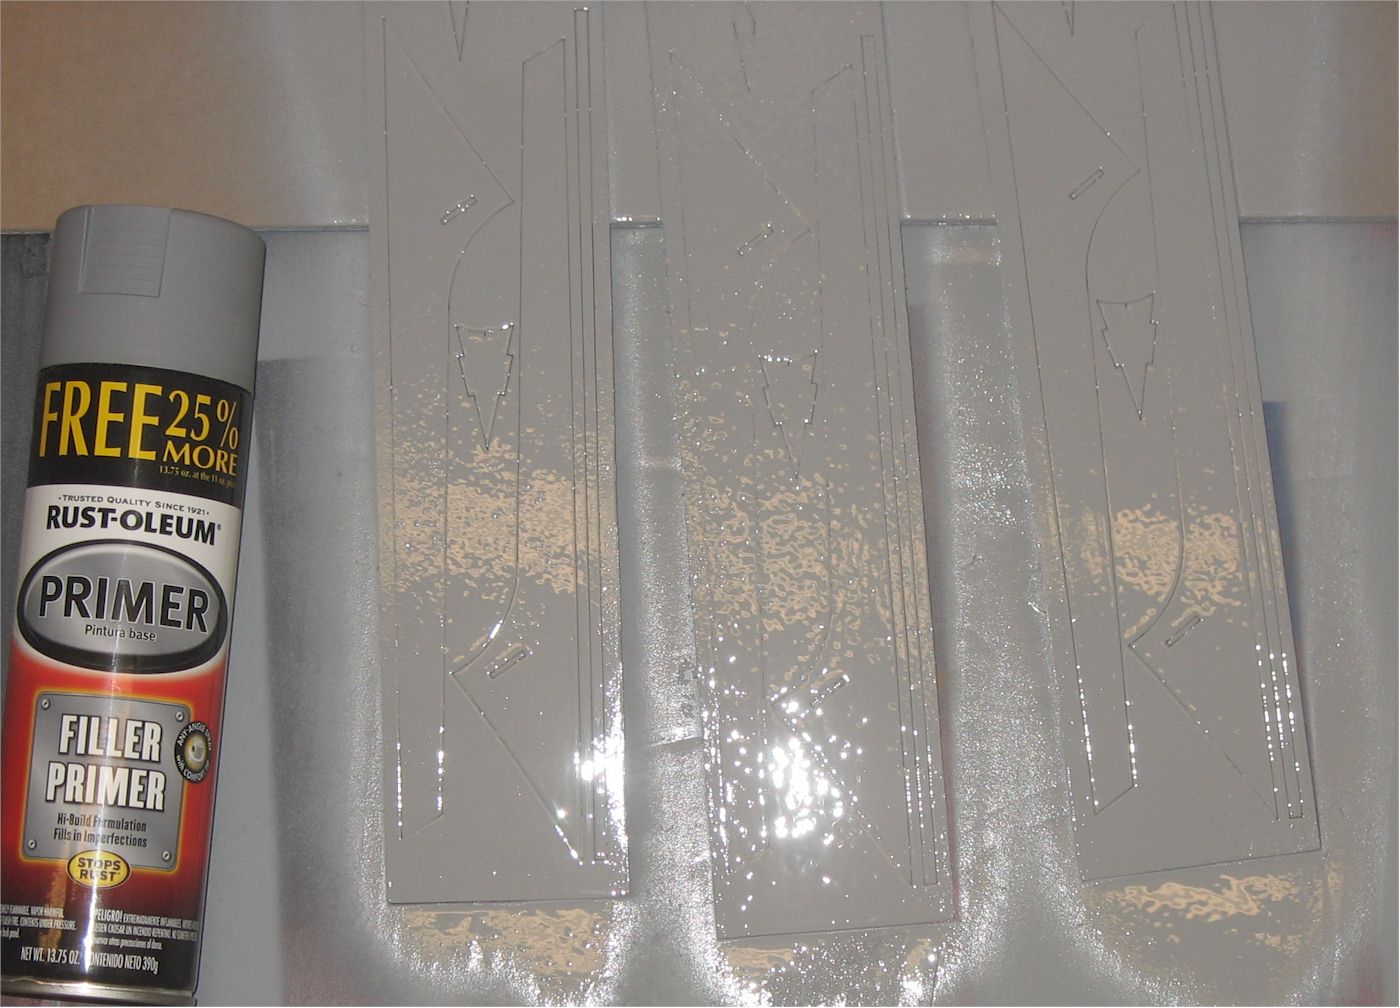
This primer sanded off pretty easily - better than any other primer I've used. Pretty glassy surface too!
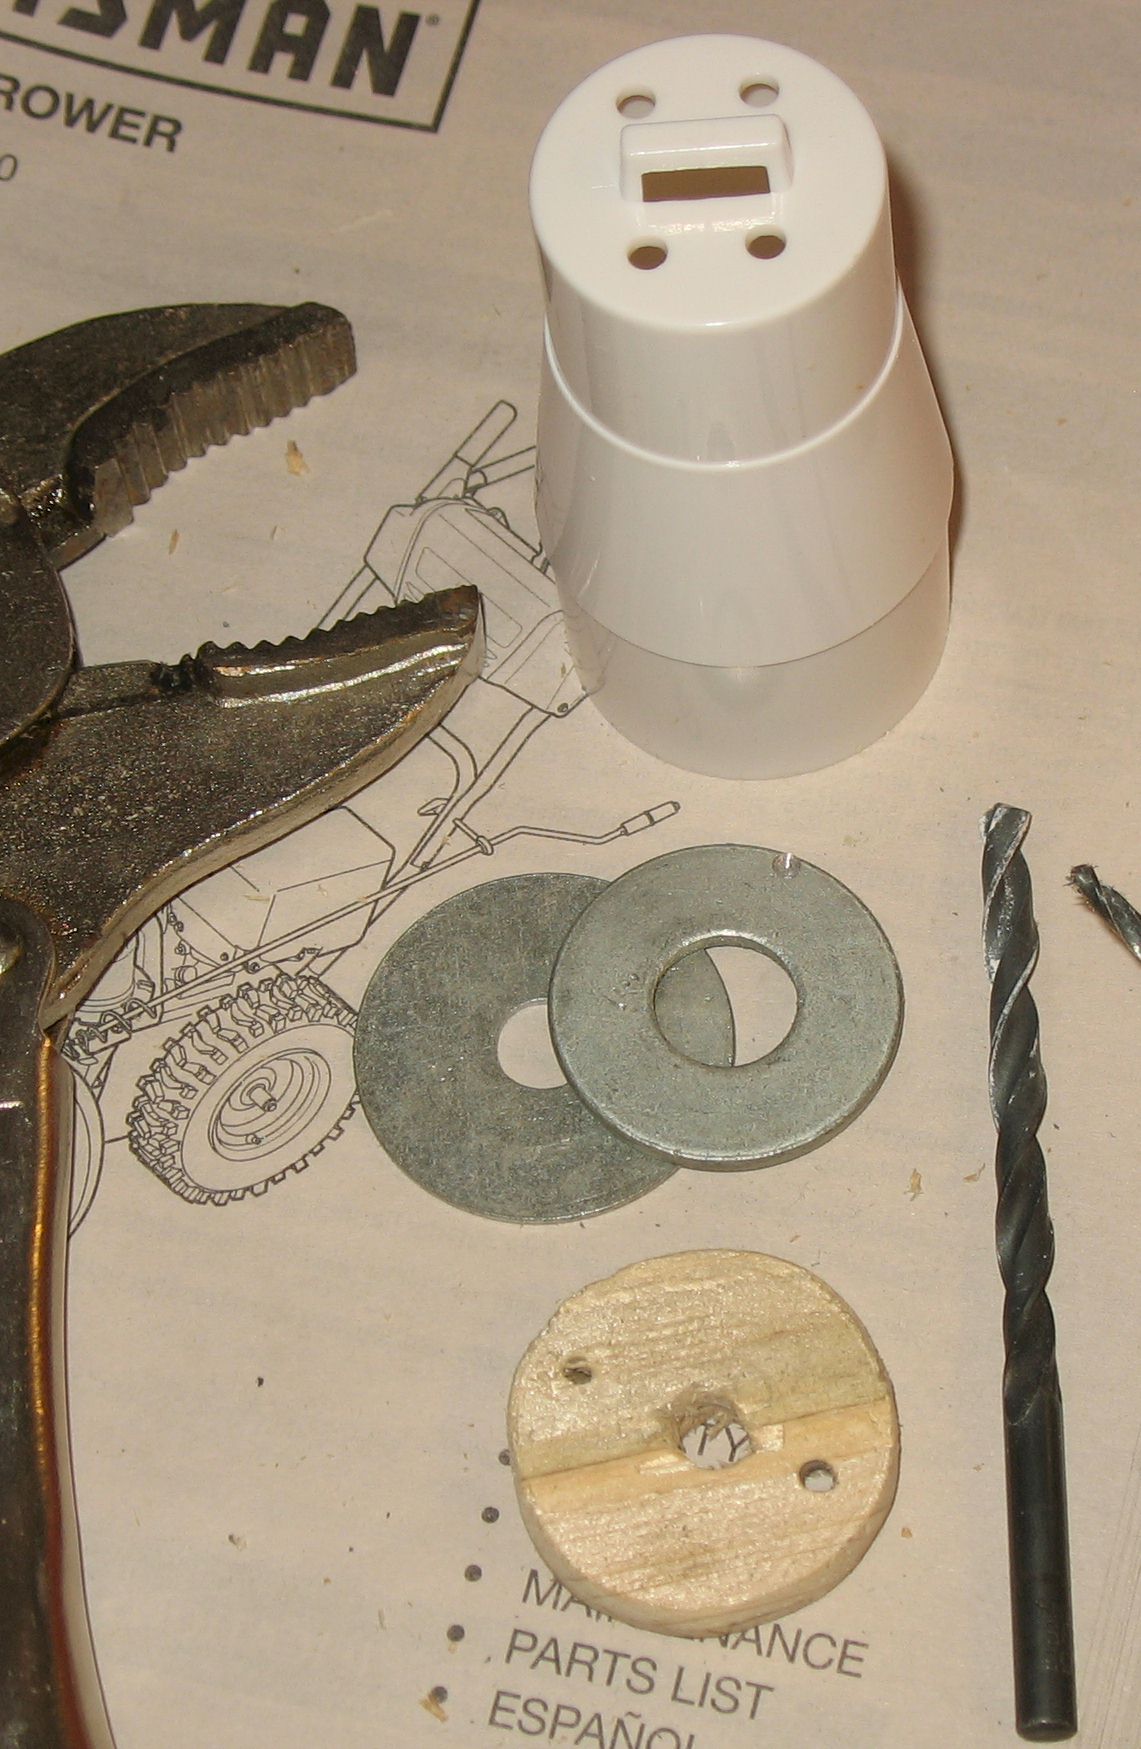
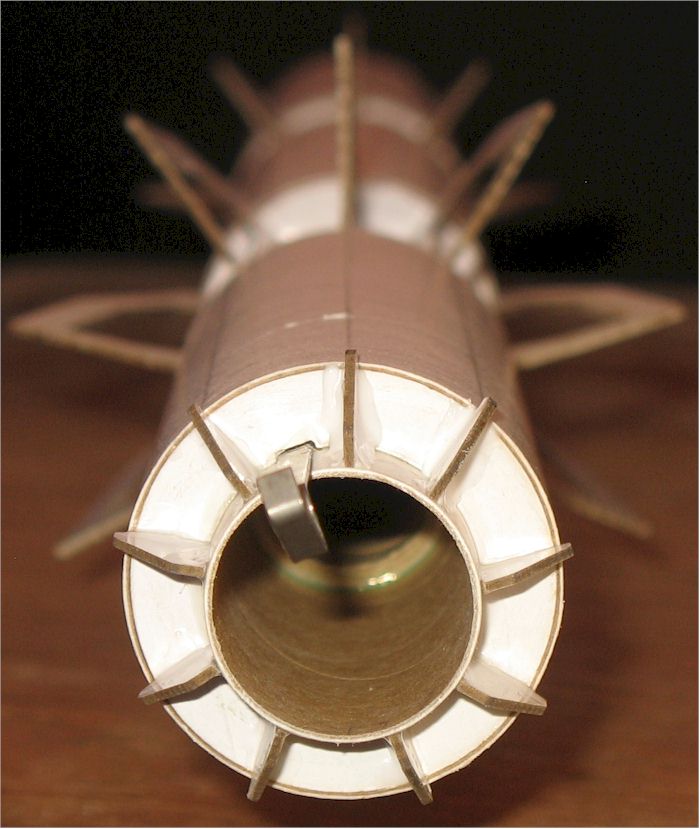
Drilled 4 - 9/68" holes in top of plastic transition (a tad bigger).
Glued 2 - 1/8" balsa sheets together and sanded to fit bottom of transition for a baffle.
Held between 2 washers to drill out the oversized holes.
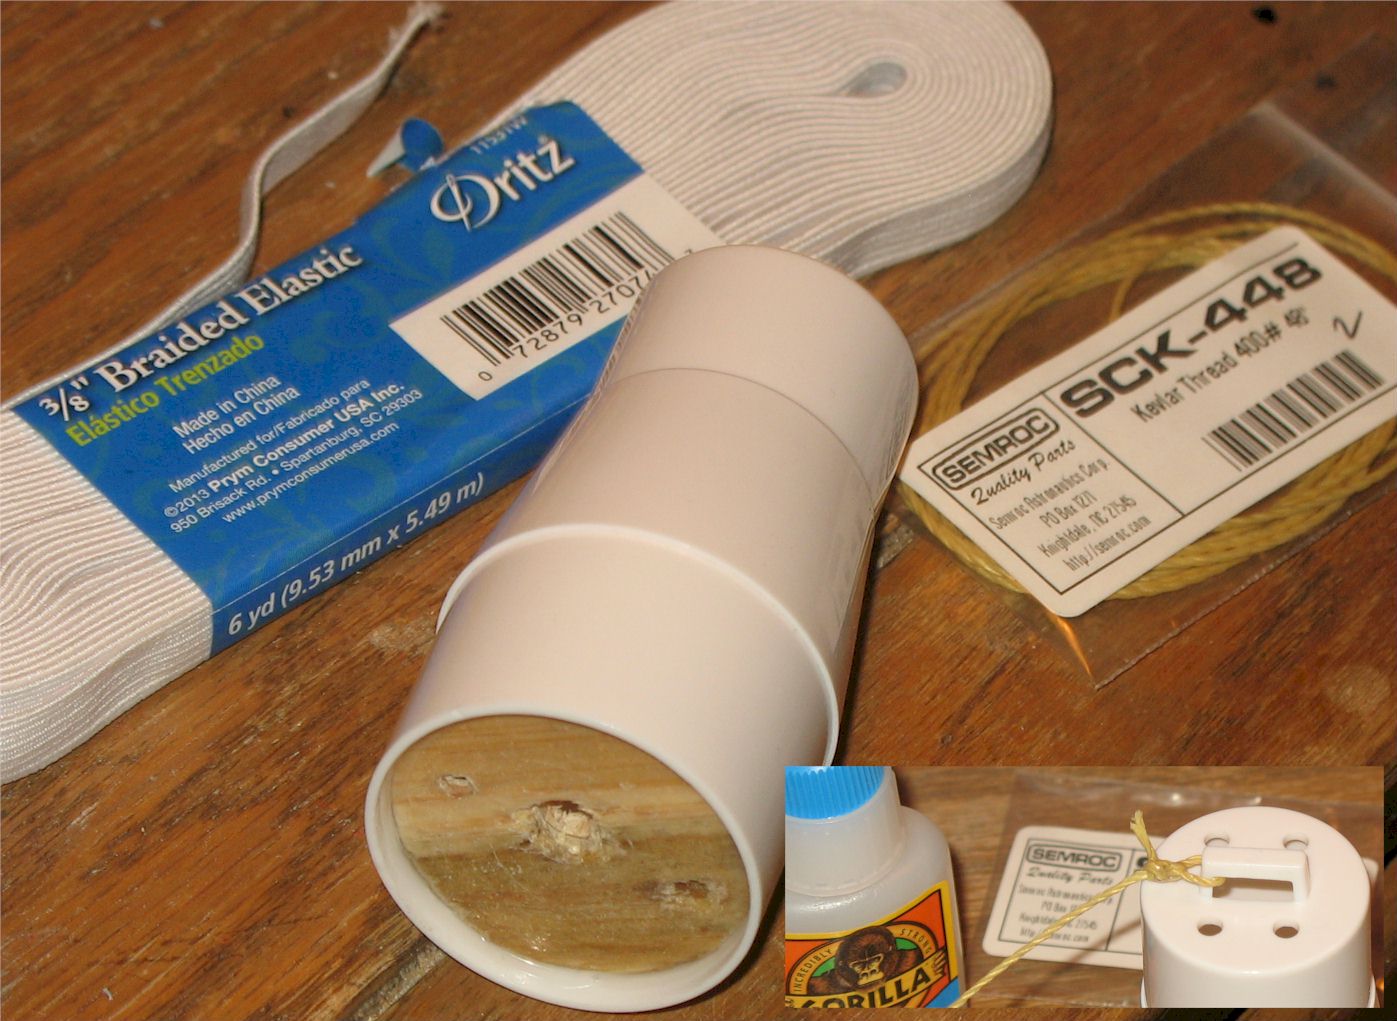
Put this baffle in with multiple layers of Elmers and CA. CA smeared across bottom of baffle for some heat resistence.
Holes in baffle do NOT align w top holes of transition.
Tied 400# Kevlar to transition's built in attachment point. Tied that to 3/8" braided elastic (~ 2.5X body lengths worth).
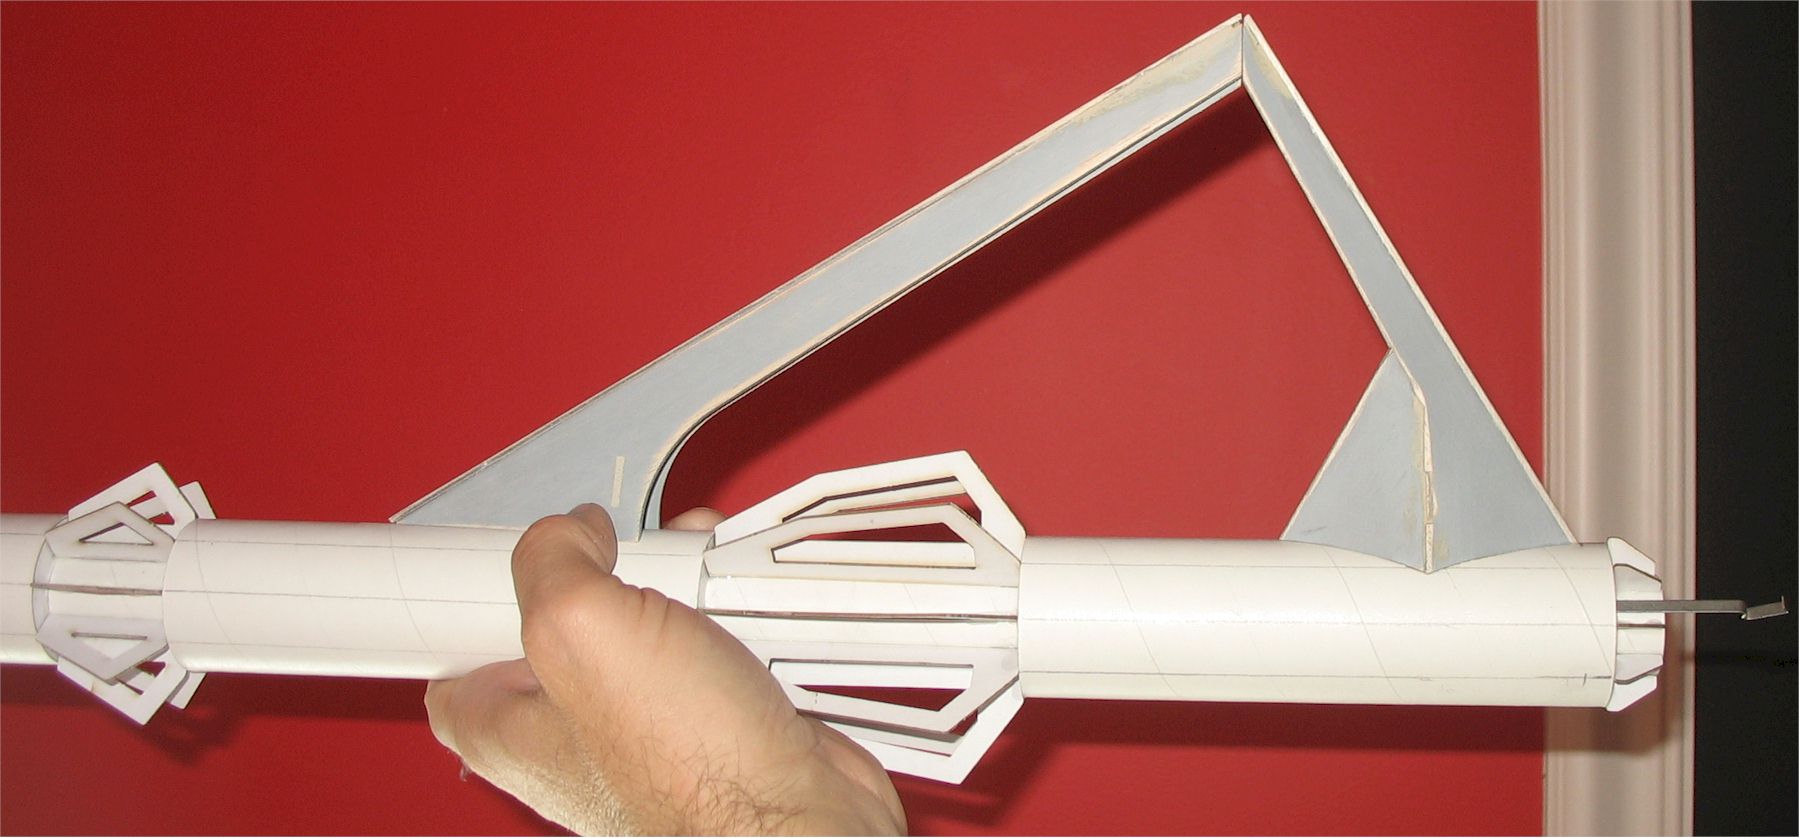
Decided to attach radiant (?) fins on before wings were done.
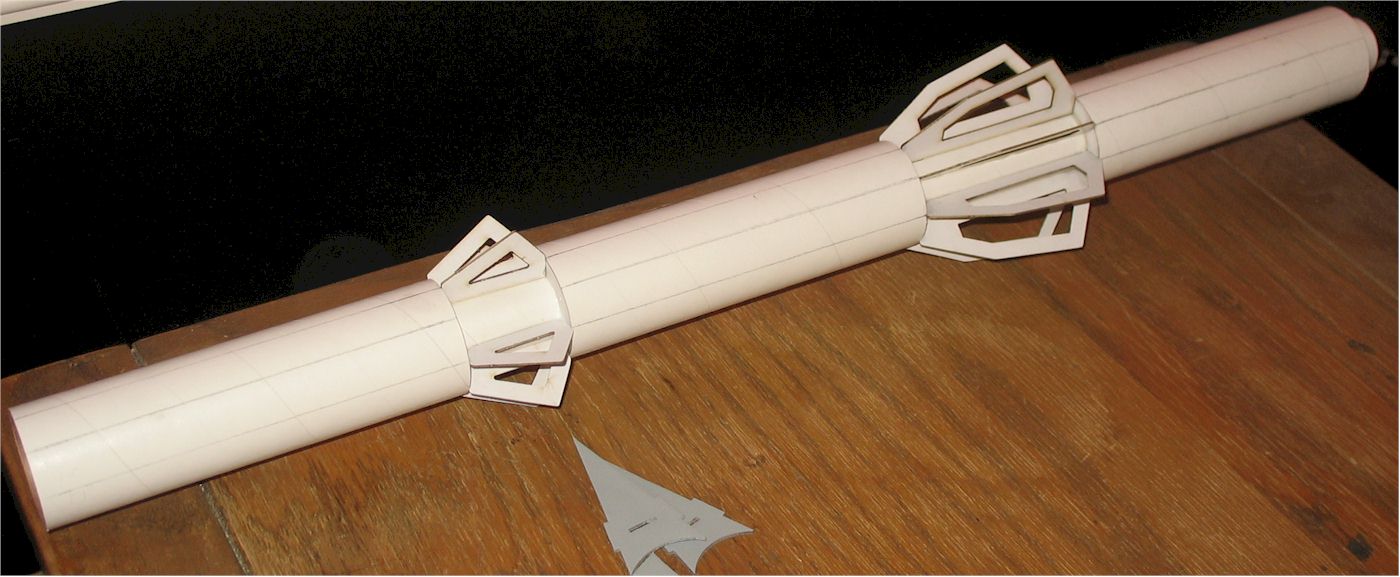
Comin' together nicely! It's too hard to stuff this much elastic into the tube - I'll be trimin' it down.
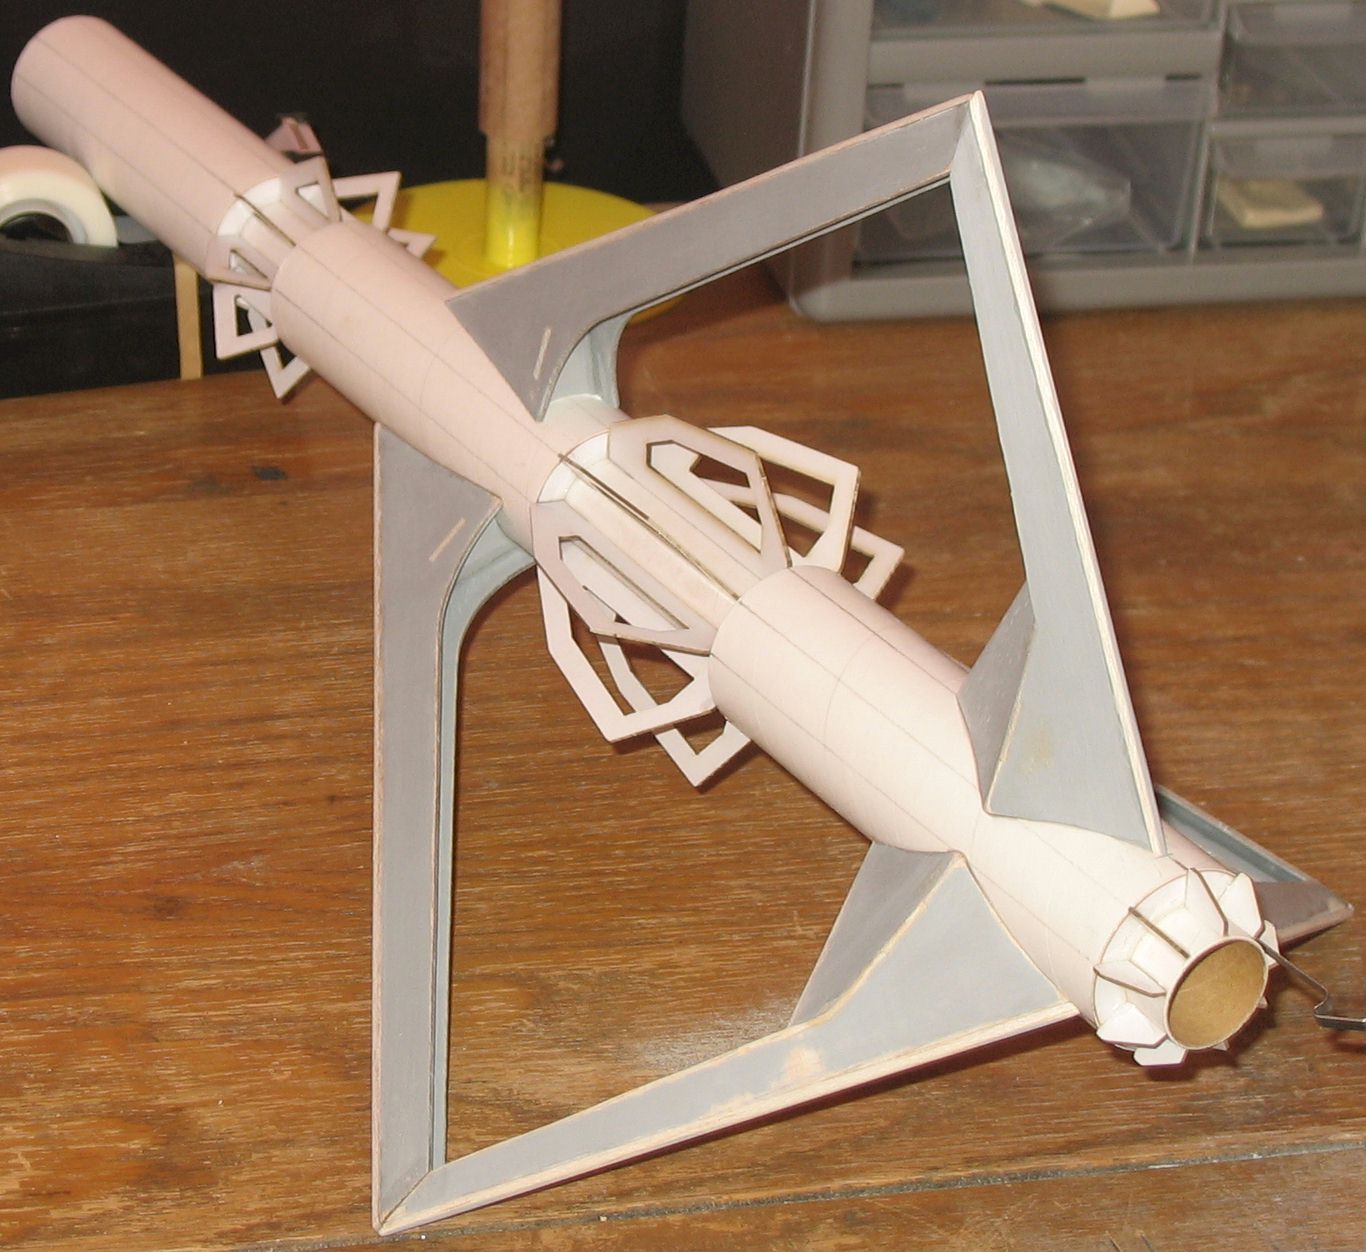
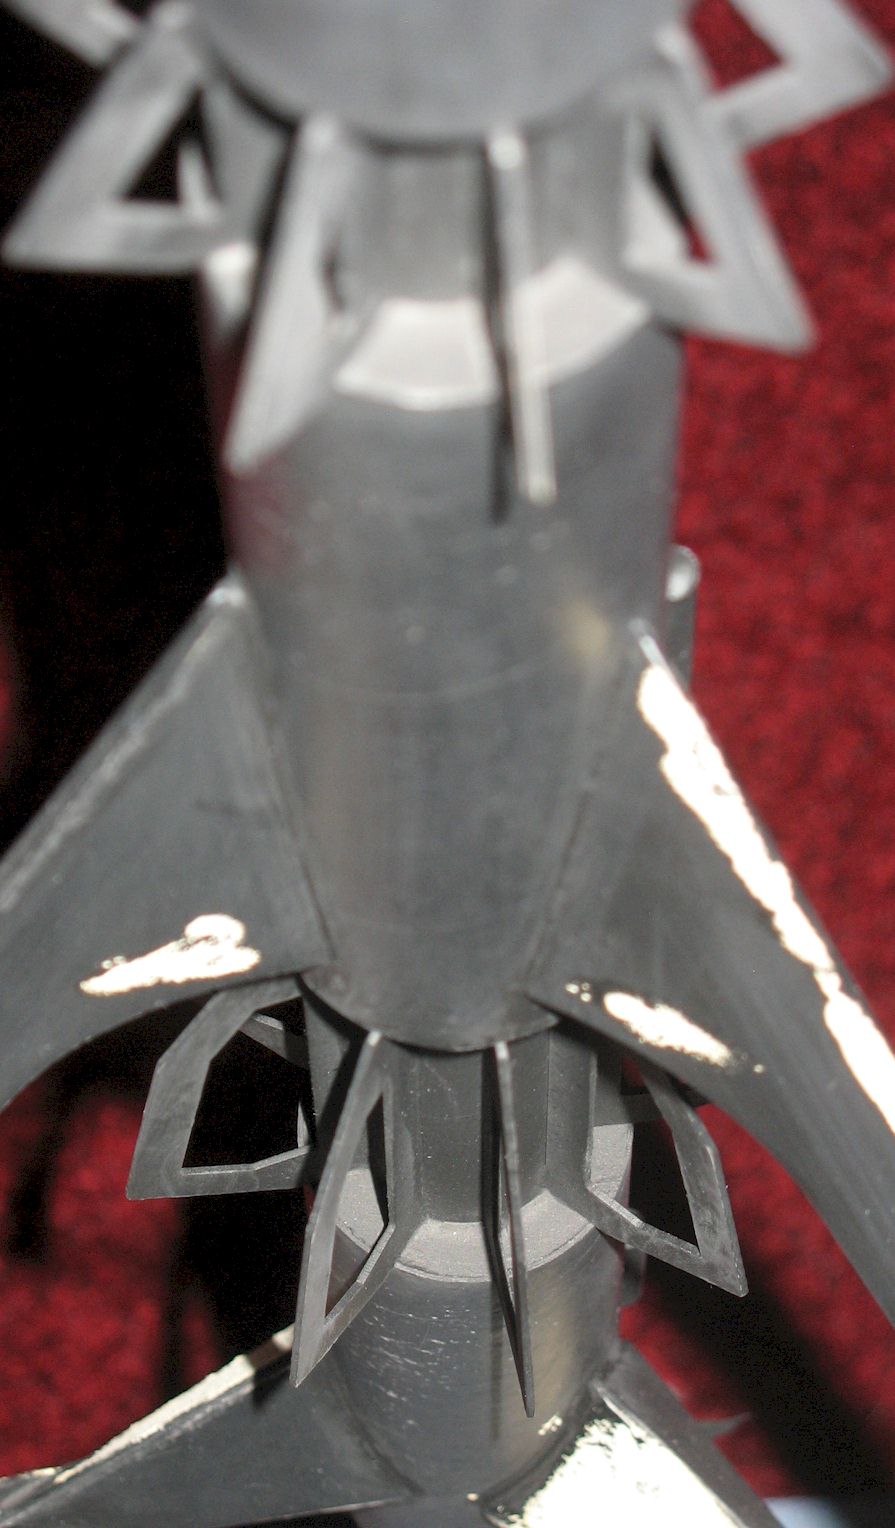
All radiant (?) fins attached w Elmers.
I've delayed the wings long enough. From left to right, I got better as I went! All Elmers.
The more time spent here on a good fit, will save time later w wood filler!
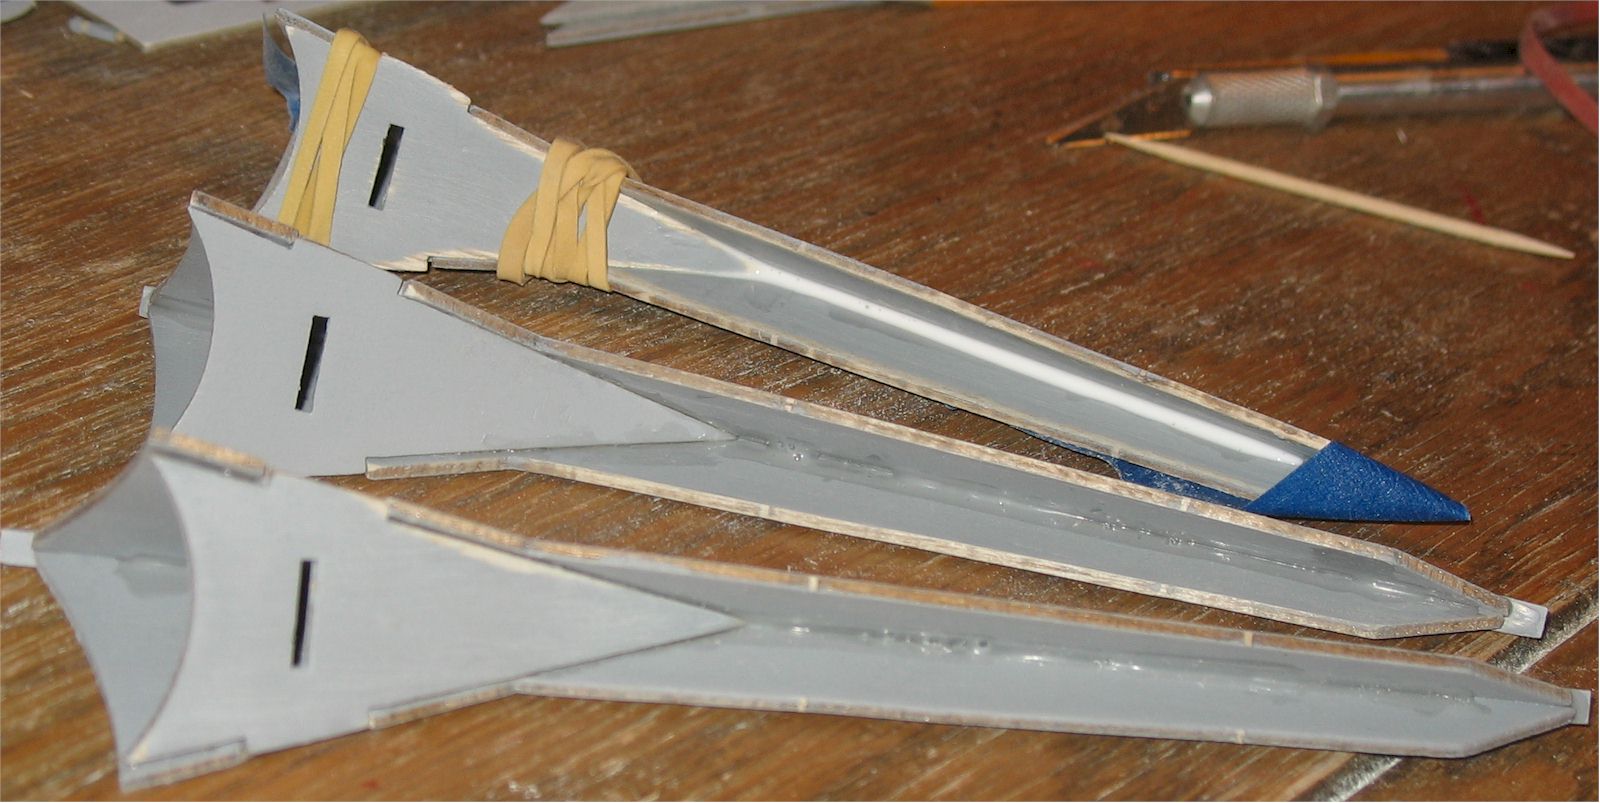
Sanding the fins along the tube length is (I think) critical to a good fit. I used ~ 150 grit and a coupler. 
A lot of dry fitting is prudent!! :-) Thinking of enclosing the fins w card stock - decided they can be glued on later.
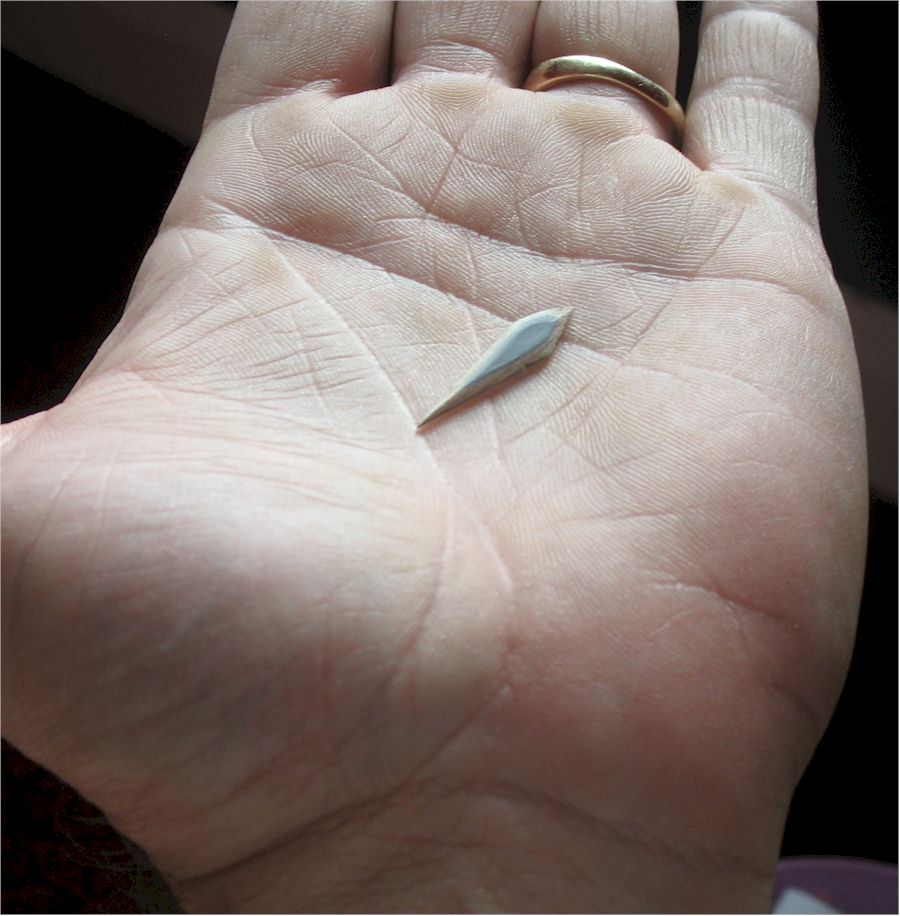
Beval these little edges...!
Attached lower fins first, then uppers, sanding where they meet for a good fit.
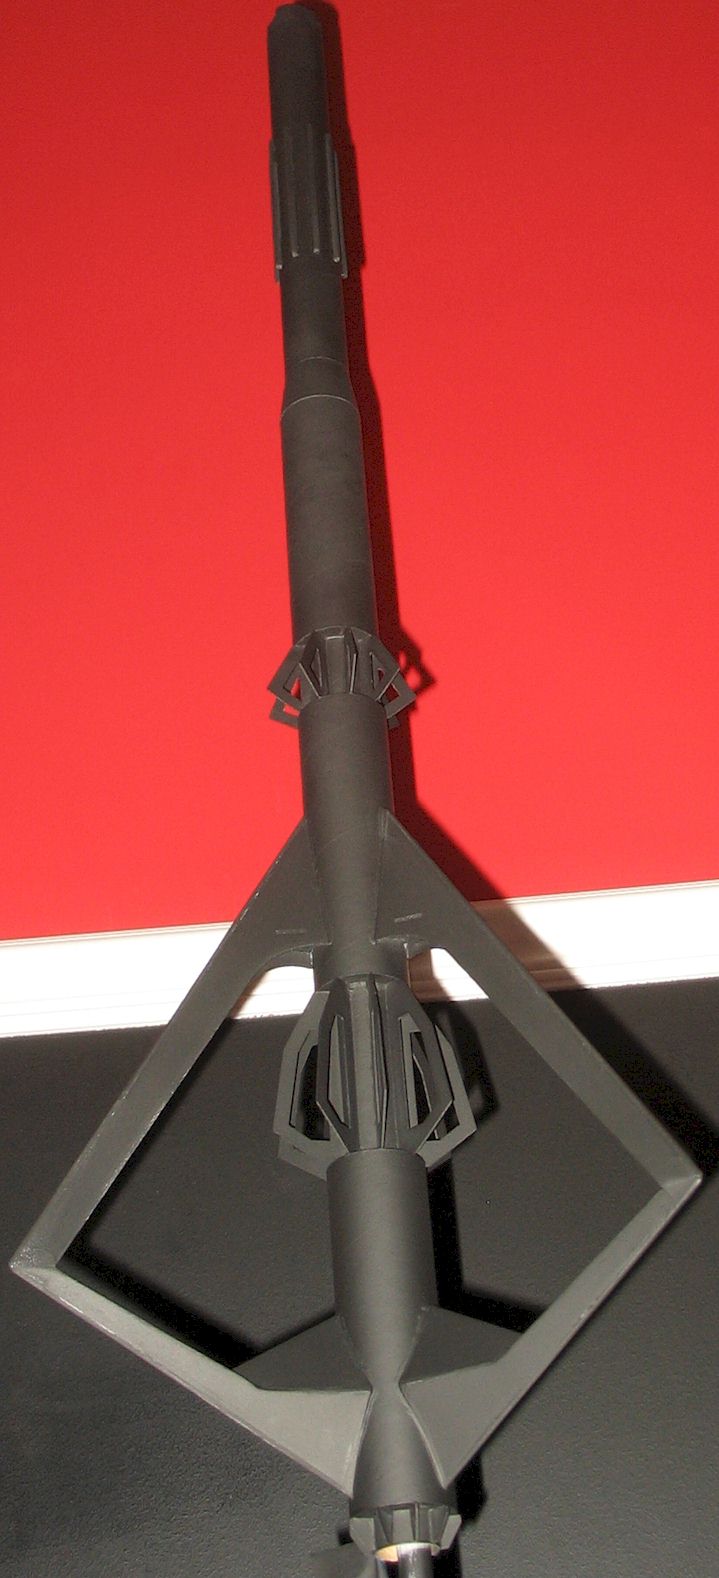
The Black Star Voyager... is now black!
Used Rust-oleum black primer 269453 - 2X coverage. Looks fairly matte.
Still a little rough - needs some TLC.
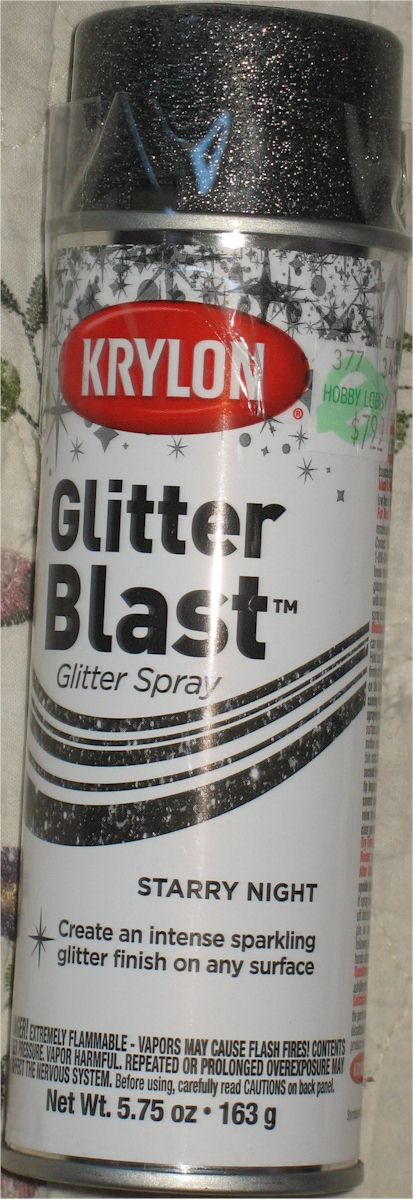
Found some Starry Night "Glitter Spray" ! Now I'm gonna have to finish my BSV extra nice.
More wood filler work is needed. This'll be my coolest rocket!
Wood filler and polishing all down to 800 grit!
I like how the radiant fins have turned out.
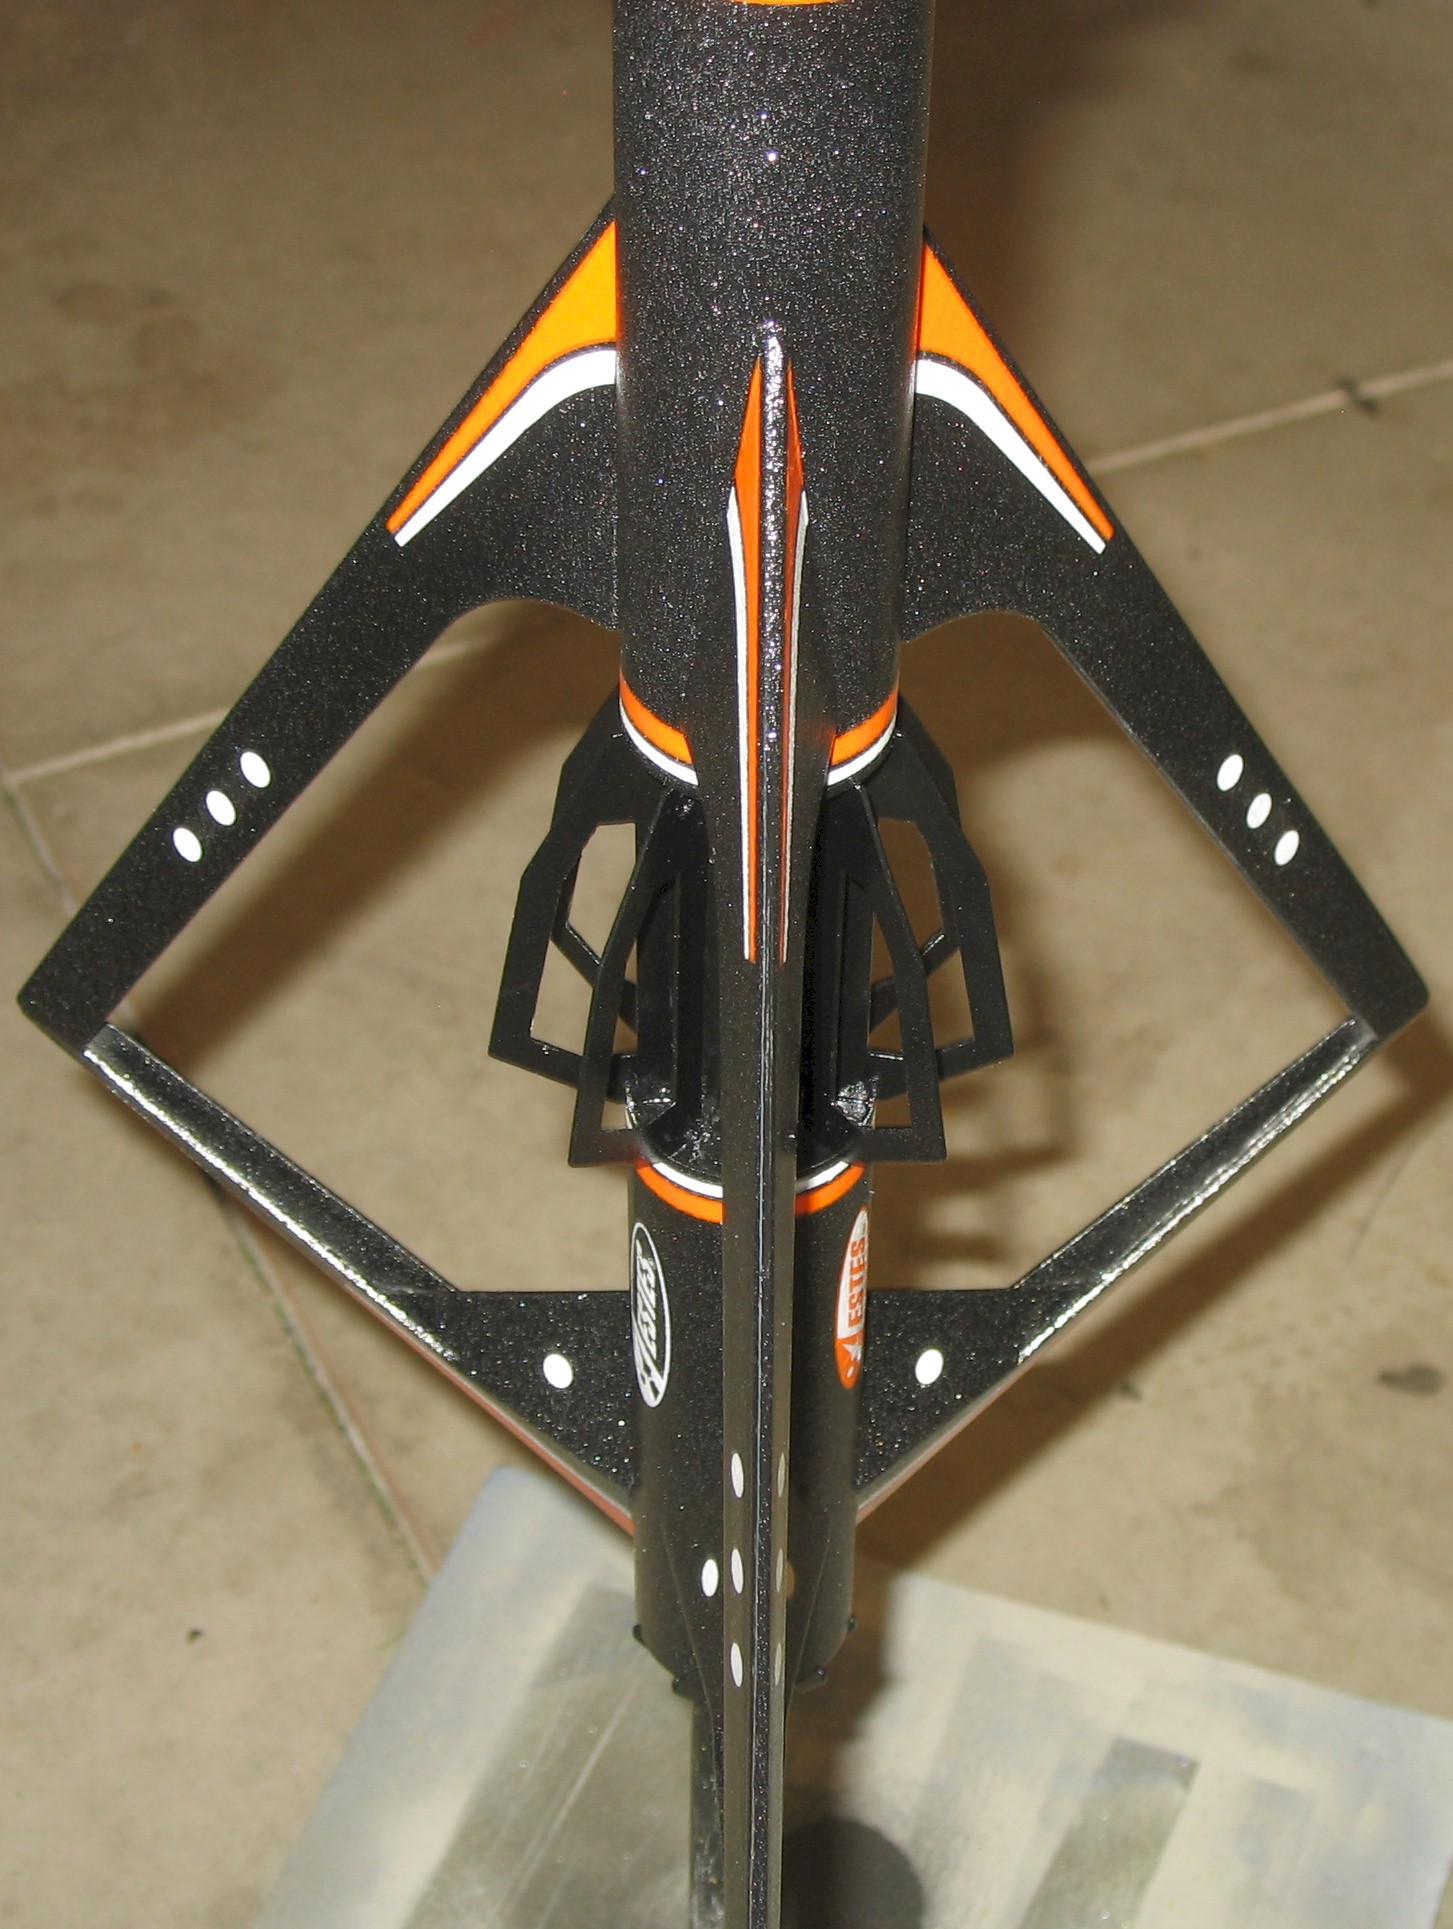
First coat of Starry Night! It looks GREAT under flourescent light!

The nose cone was left bare - no paint, just washed in soapy water.
The radiant fins were left matte black. Decals went on well - used Micro Set/Sol.
The Starry night turned out really well - different "Stars" shine as you walk around it - GORGEOUS!!
Left the model a bit rough tho (hence, the need for Micro Sol!)?
Finished 5/31/2014 at 220.4 grams (7.77 oz. Yes, 7.77!)
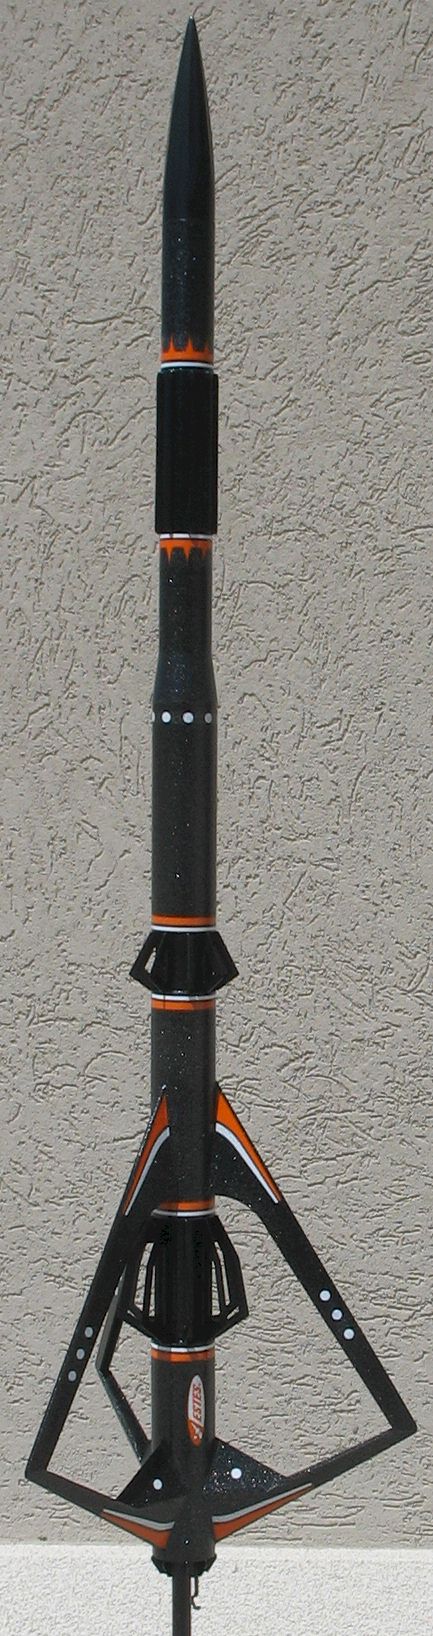
Glamour Shot!
Launches
Updated Oct 18, 2020
Huxley@xmission.com