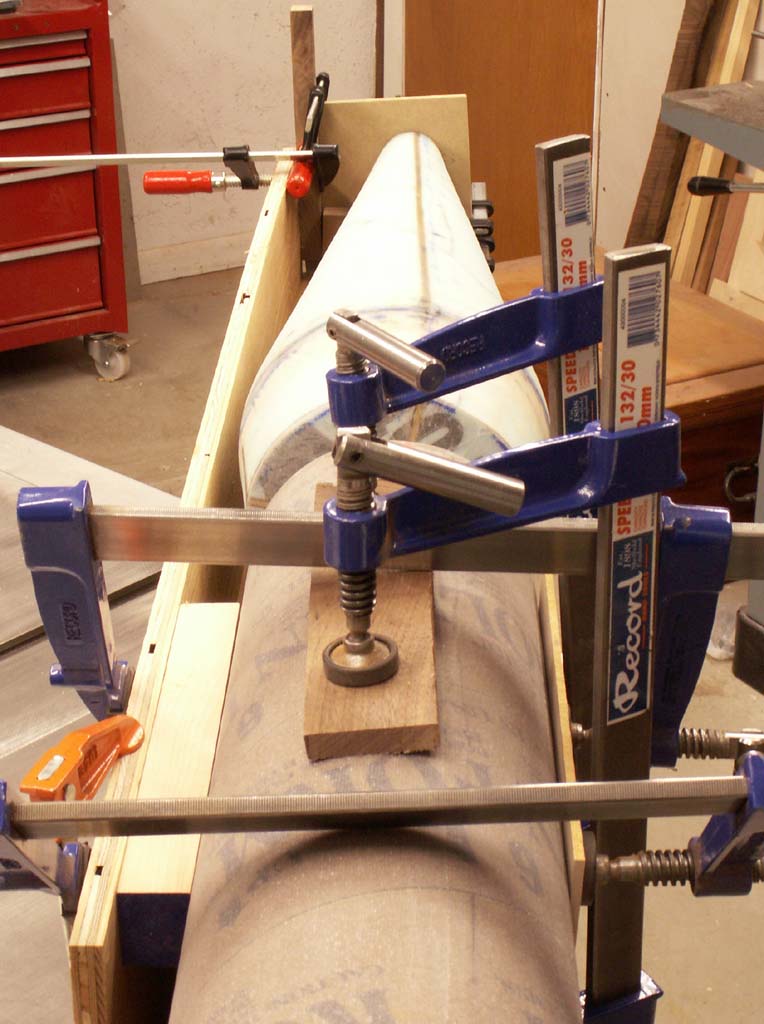
The nose cone tip and base were both drilled and tapped for 3/8" threaded rod into their dowel cores. Here's the jig that Evan and I made to align the parts when the epoxy cured. After a bit of head-scratching, I lined up a long straightedge parallel with the lower tube, offset to clear the bulge in the cone and the clamps. Parallelism was checked with a level. Then I measured down to the centerline of the tube, adjusting a plate which had been drilled for the front tip stud. This was done for both axes. It took some perspicacity, I humbly submit, and worked nicely.
|
|
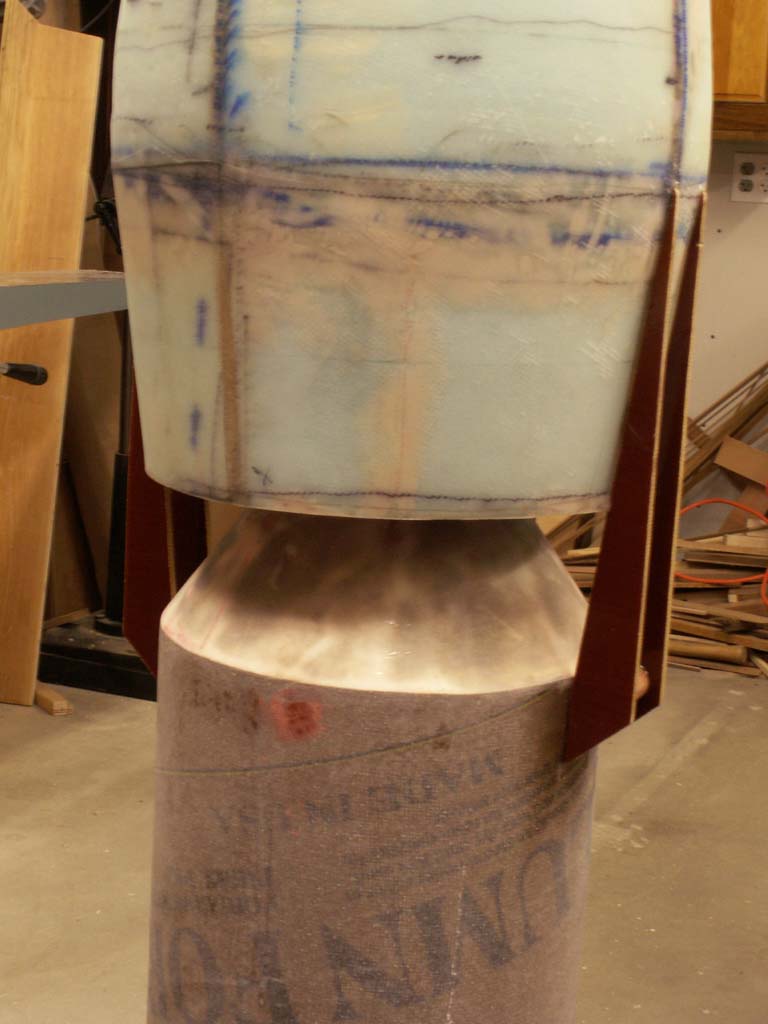
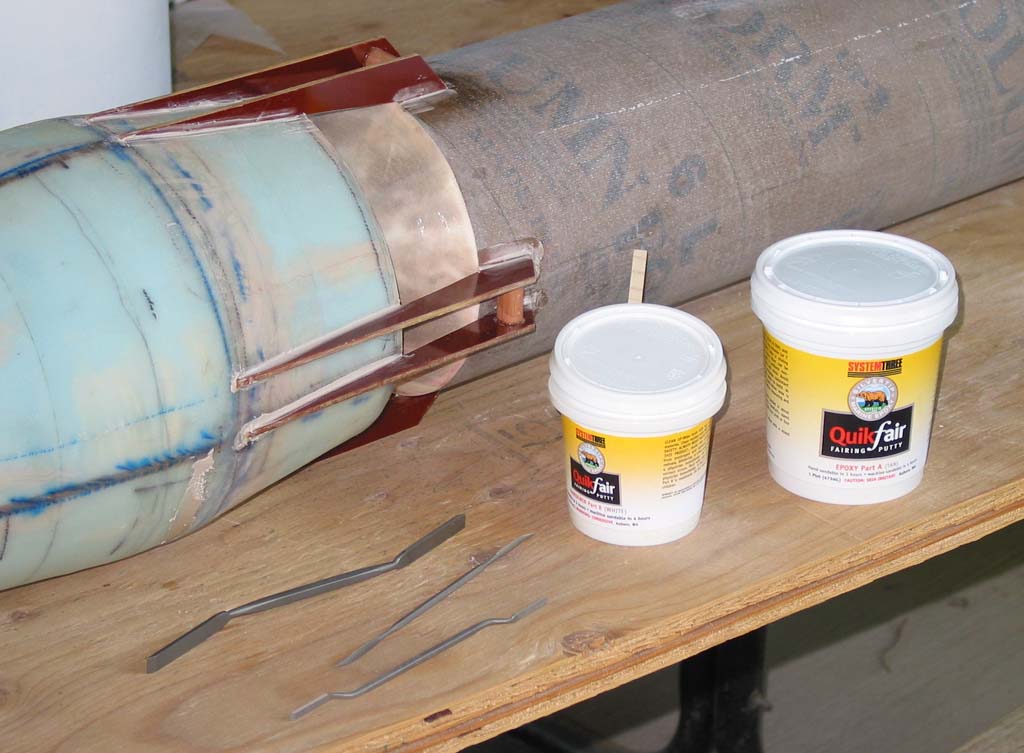
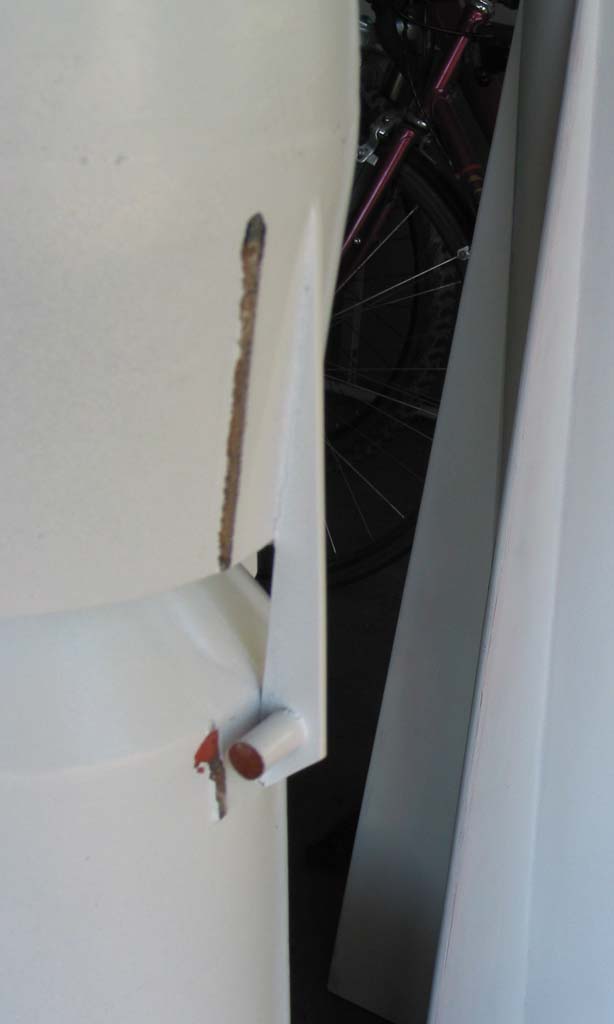
The "flying buttress" external support ribs need to be structural, due to the relatively weak internal structure. I cut them from 1/8" CE garolite (cotton/phenolic) and epoxied them on. Later, I added fillets using my favorite epoxy putty, Quickfair from System Three.
 |
 |
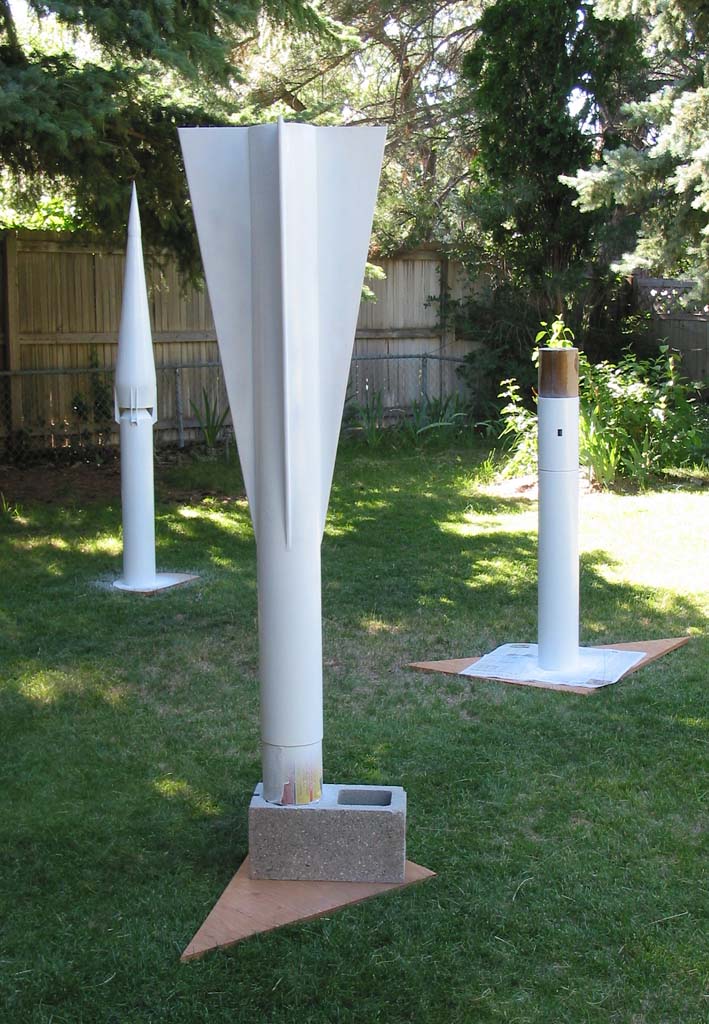
The paint booth. This is before the wind kicked up. Everything was blown over, and almost all the ribs snapped. I suppose it's fair to conclude that the internal structure isn't strong enough!
 |
 |