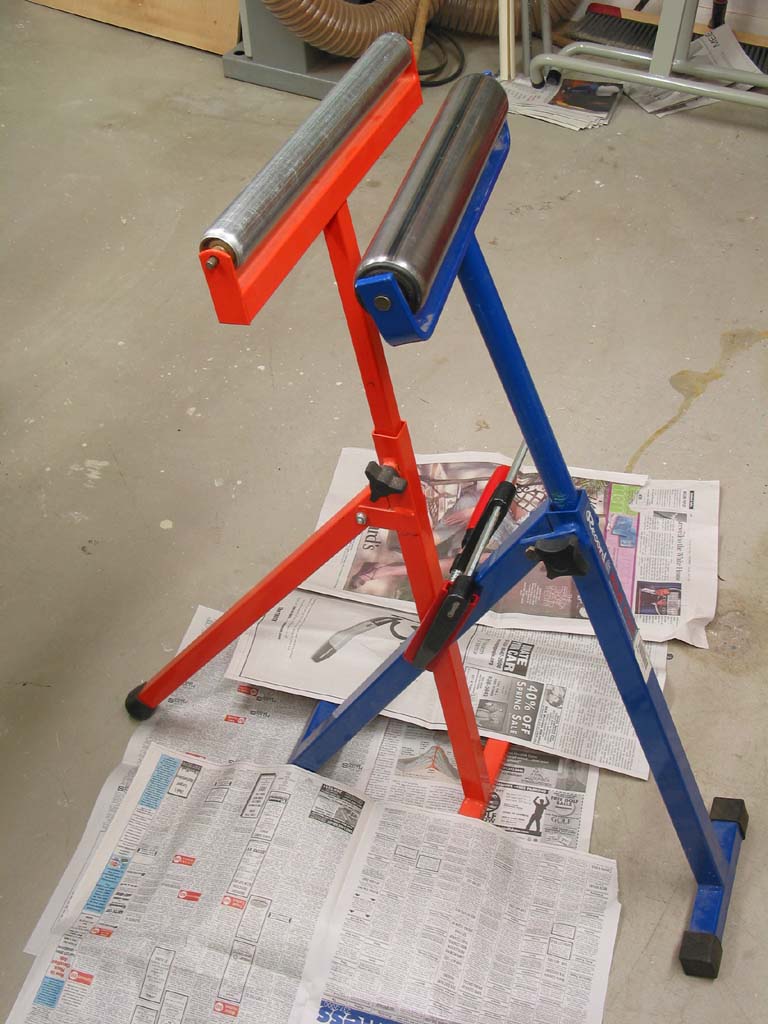
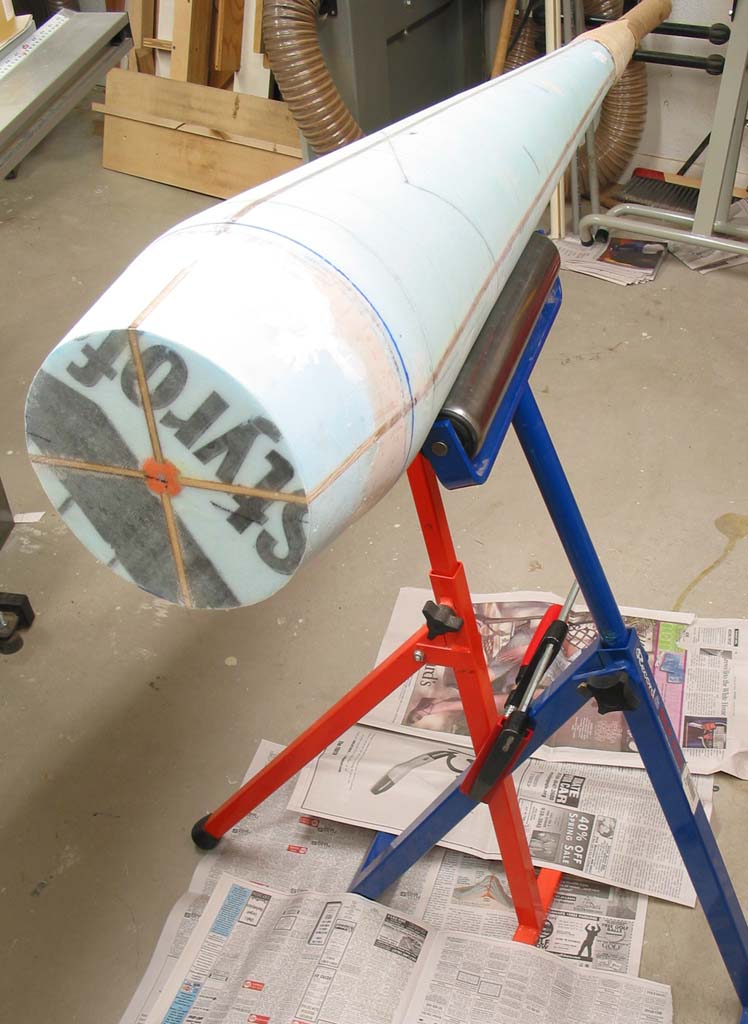
So that the nose cone could be turned while being worked on, I set up a pair of roller stands in a Vee shape at a comfortable working height. They are clamped together to prevent slipping.
|
|
|
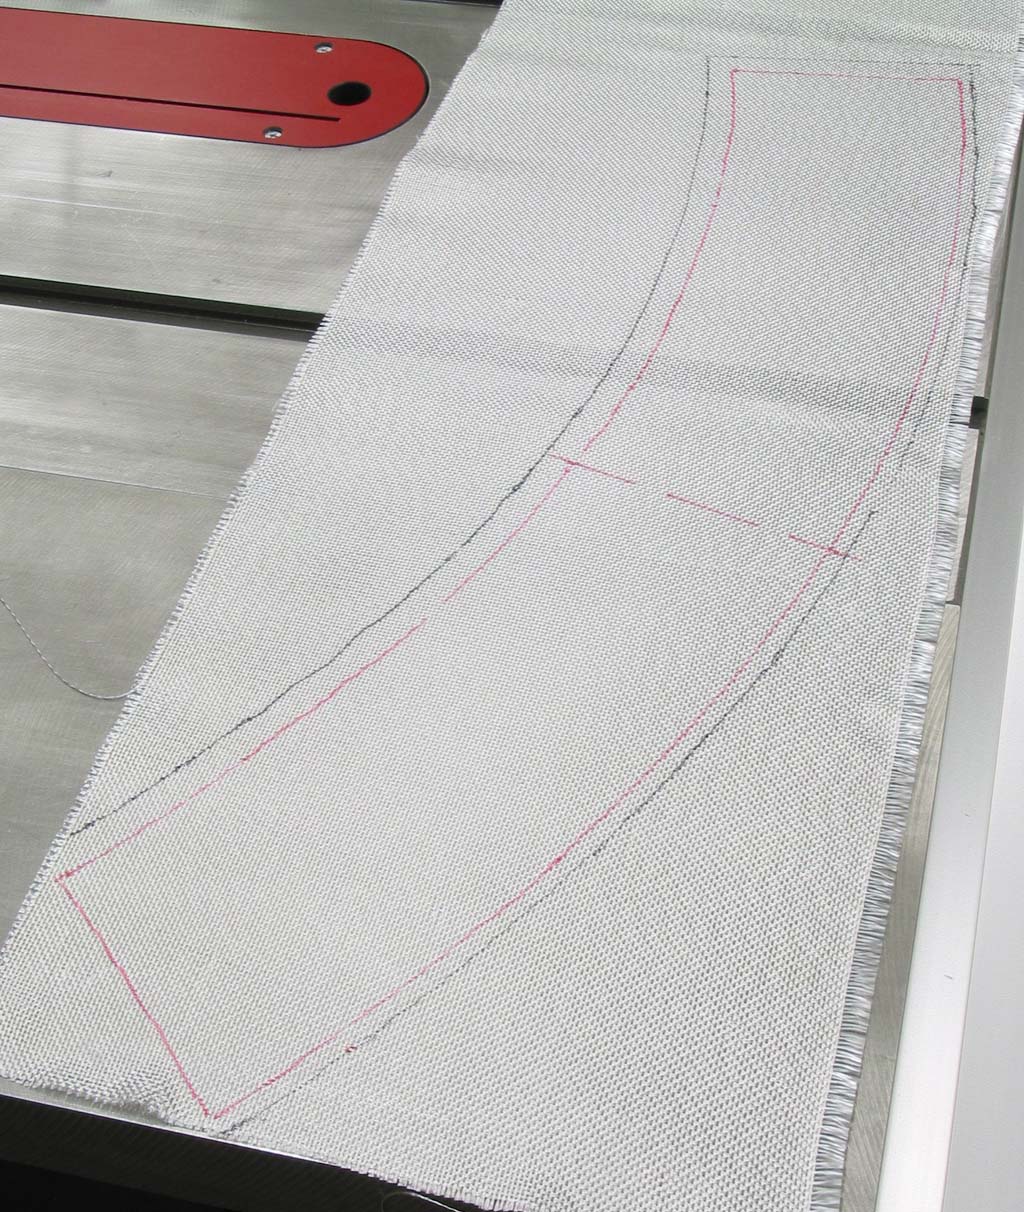
I made a paper template which is the exact size of the zone to be fiberglassed first. This helps lay out the shapes on the fabric. Alignment lines drawn onto the fabric are a tremendous aid when positioning the cloth. A sheet of 5.6 oz glass before cutting shows the basic shape plus overlaps.
 |
 |
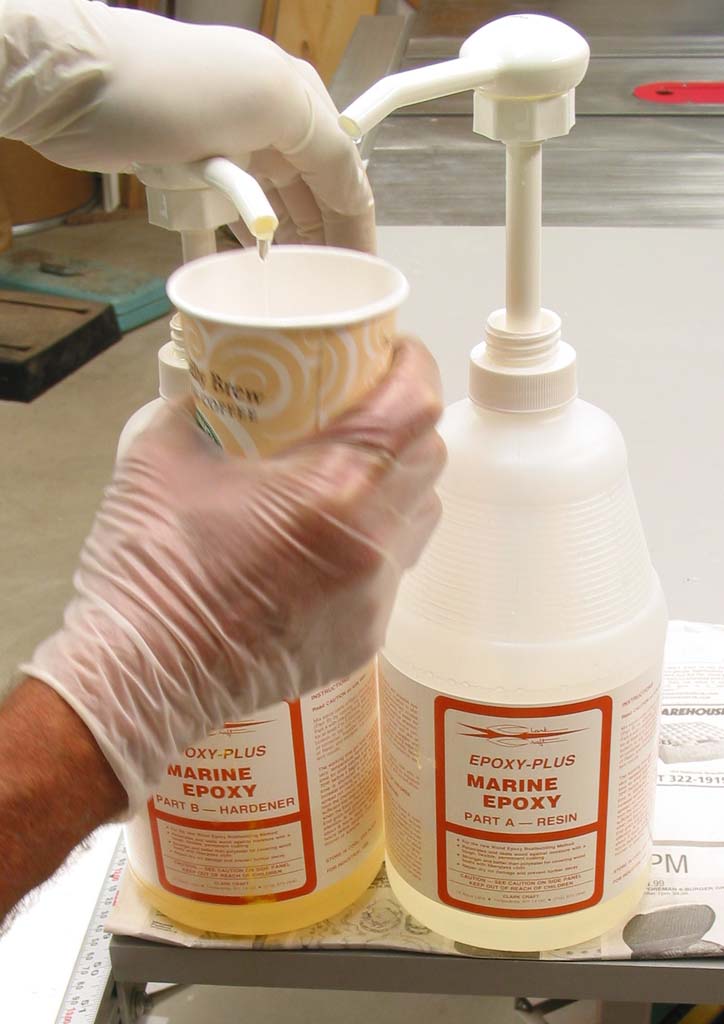 |
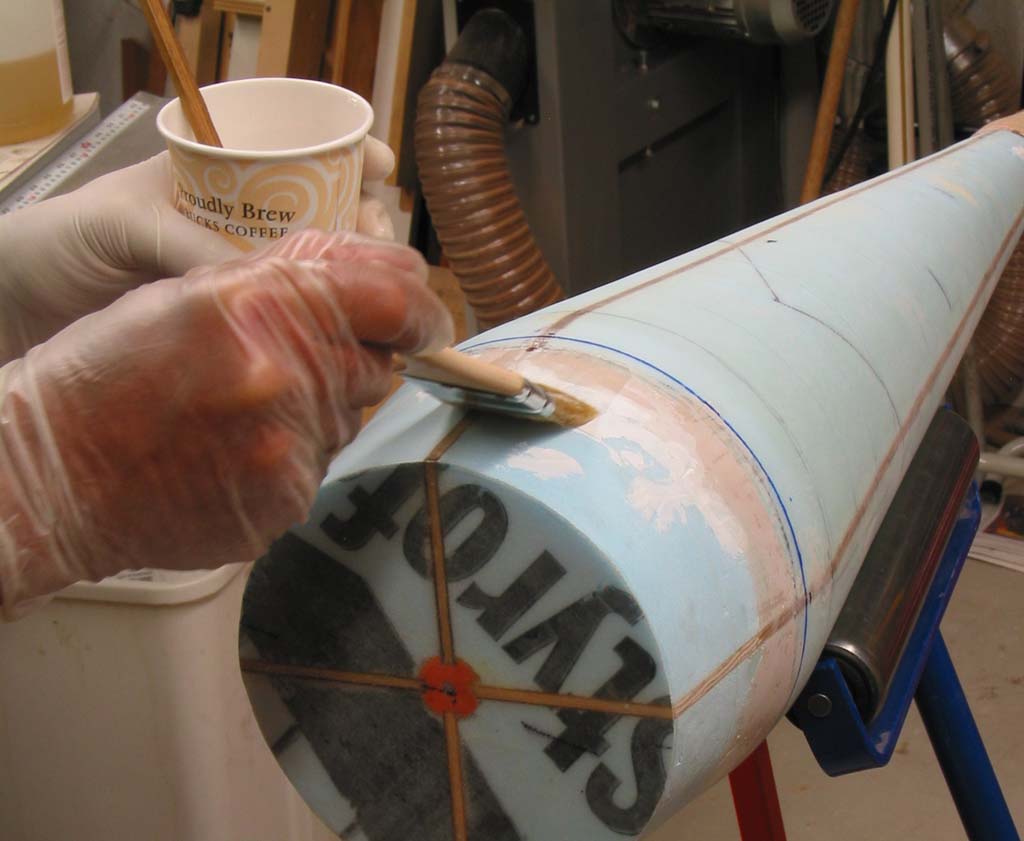
Pumps are handy for quick measured dispensing. These were only $5/pair from epoxy5050.com, purchased with the gallon of epoxy. They aren't great pumps, but are adequate. Each stroke is 25 ml. The resin is thicker, so make sure the plunger is all the way up before the next stroke. For this small section, I used a disposable brush, but for larger surfaces I use a 3" paint roller. The roller soaks up about 100 ml of resin, and this mass is enough to start the epoxy setting. For this 6" x 2' section, I mixed 100 ml of resin, and had plenty extra. |
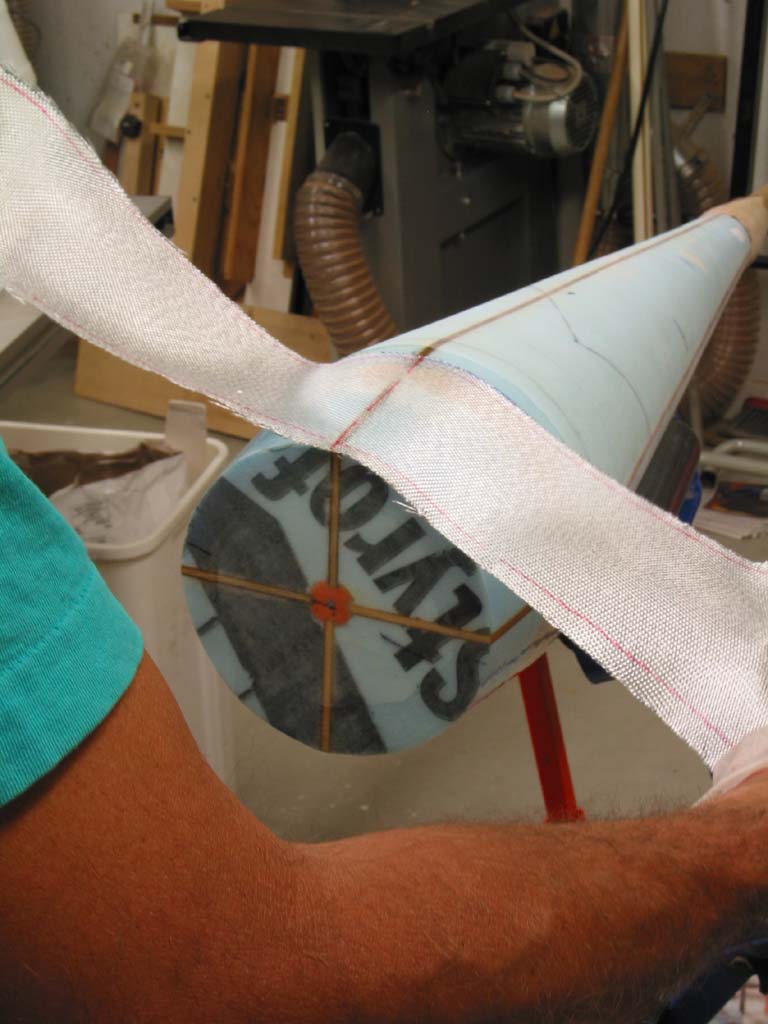
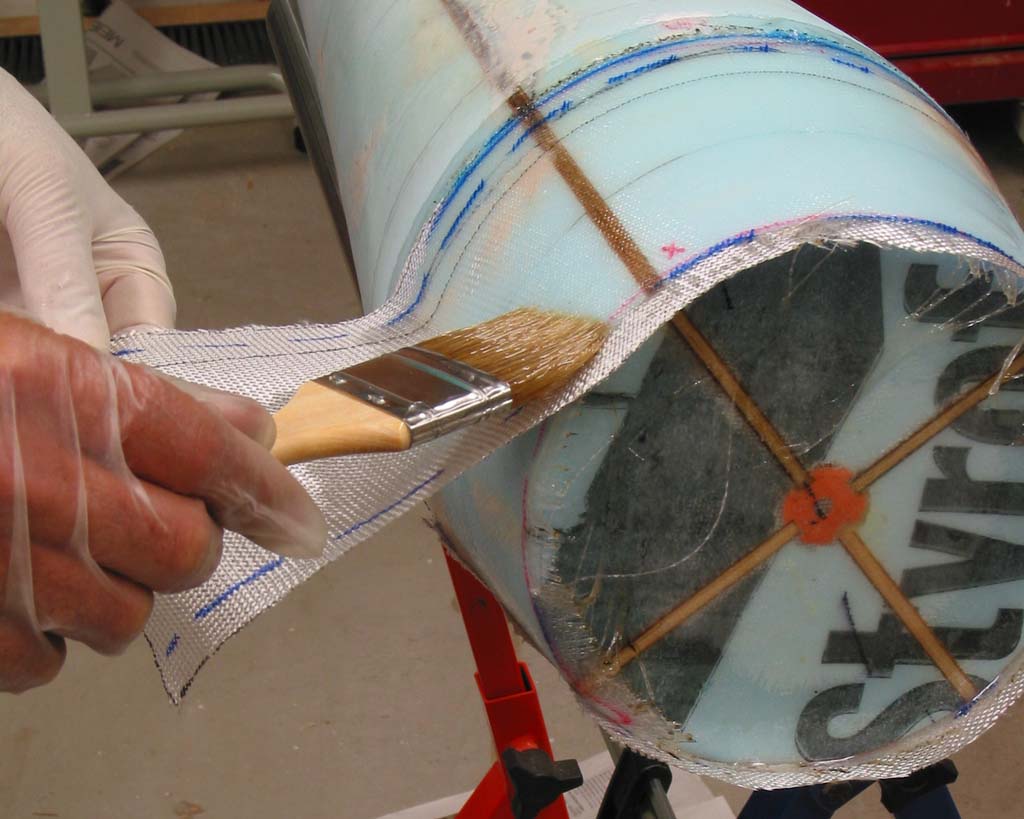
The resin needs to go down fairly thick when using 6 oz cloth. Try to stretch it tight as you wrap it around. The brush is used to steer the alignment lines where you want them, and to tension the fabric. Paint more resin on top, then put down more fabric, with again more resin on top to keep everything wet (it will look translucent). Overlaps should be near each other from layer to layer, so that when the top layer is pulled tight, it doesn't loosen the fabric layer underneath. Two things are wrong in these photos: the cup is too small, and the epoxy started heating up and setting, so I poured it into a flat wide pan; and I'm wearing short sleeves. Man, did my forearms itch afterward!
 |
 |
 |
This release cloth is porous, so the you can put breather on top and vacuum the excess resin out for a tight, strong, fairly dry layup. It's called "peel ply" and I got it from Fiberglass Supply in Oregon. The finish isn't great, but it takes very little sanding. I will probably end up adding another layer of 2 oz or finer, without vacuuming, for a better final surface. After the release cloth is stretched smooth and tight, apply breather, making sure it's tight also. This will help reduce wrinkles.
 |
 |
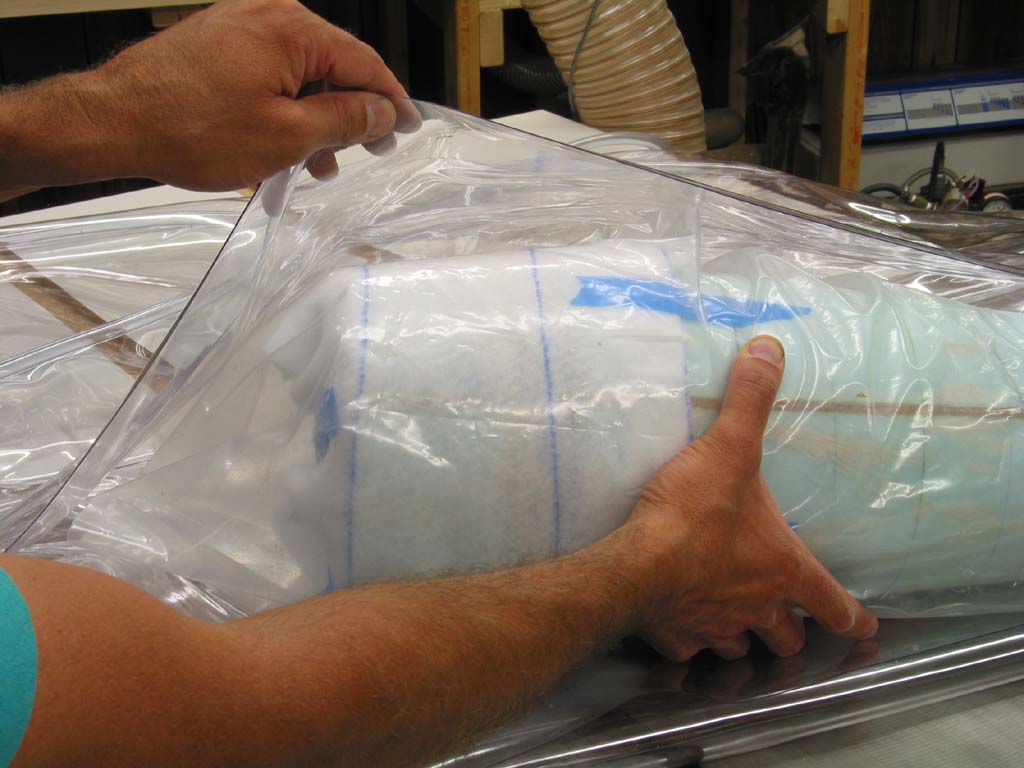
Into the vacuum bag it goes, after taping a layer of plastic over all glass/resin surfaces. This helps the vacuum bag slide over the surfaces, which prevents wrinkling and keeps your bag clean. The tubing on the right is the bag's closure: fold the open end of the bag over a piece of 1/2" PVC tube, the slide another piece of thin-walled slotted PVC over it.
 |
 |
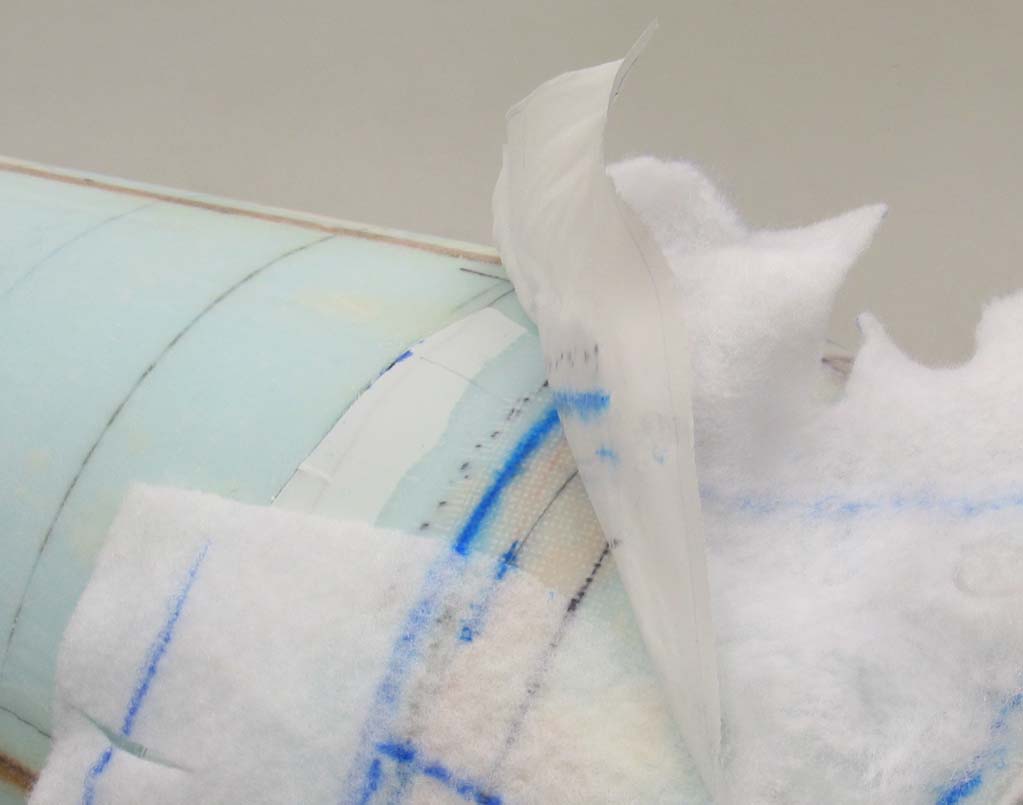
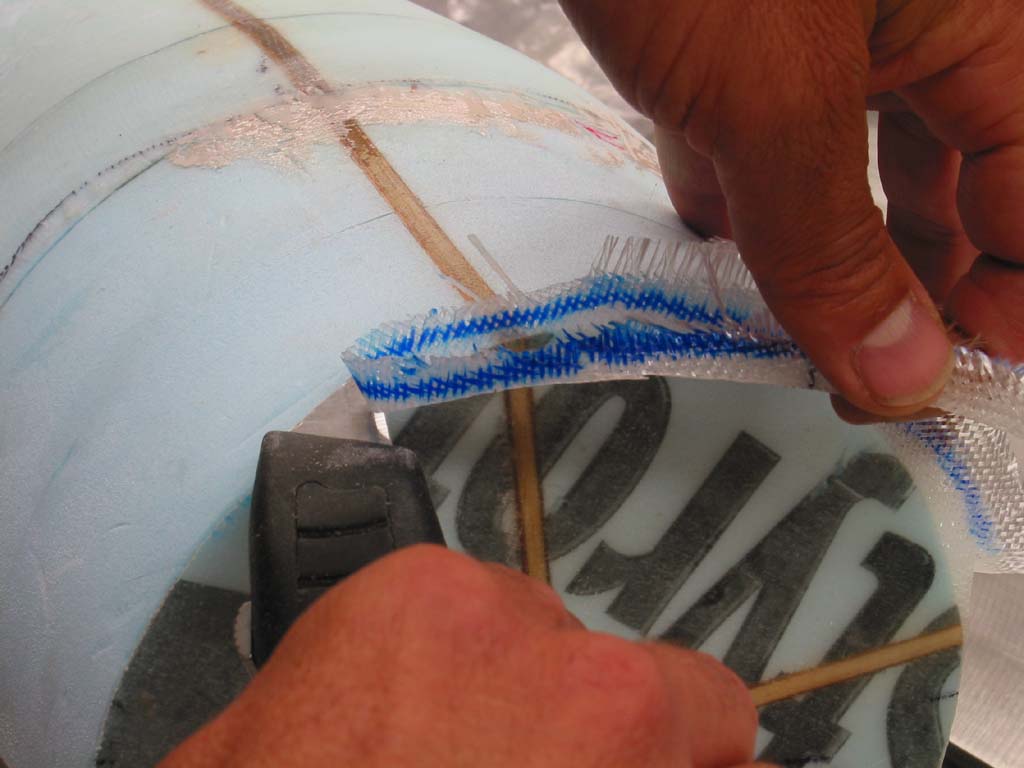
After the resin has cured, but is still somewhat green (maybe six or eight hours), turn off the pump and open the bag. Peel off the release fabric. In assemblies which have been fully wrapped, you may have trouble getting a free end to pull on, so I like to put a bit of breather in the overlapping portion of the release fabric.
 |
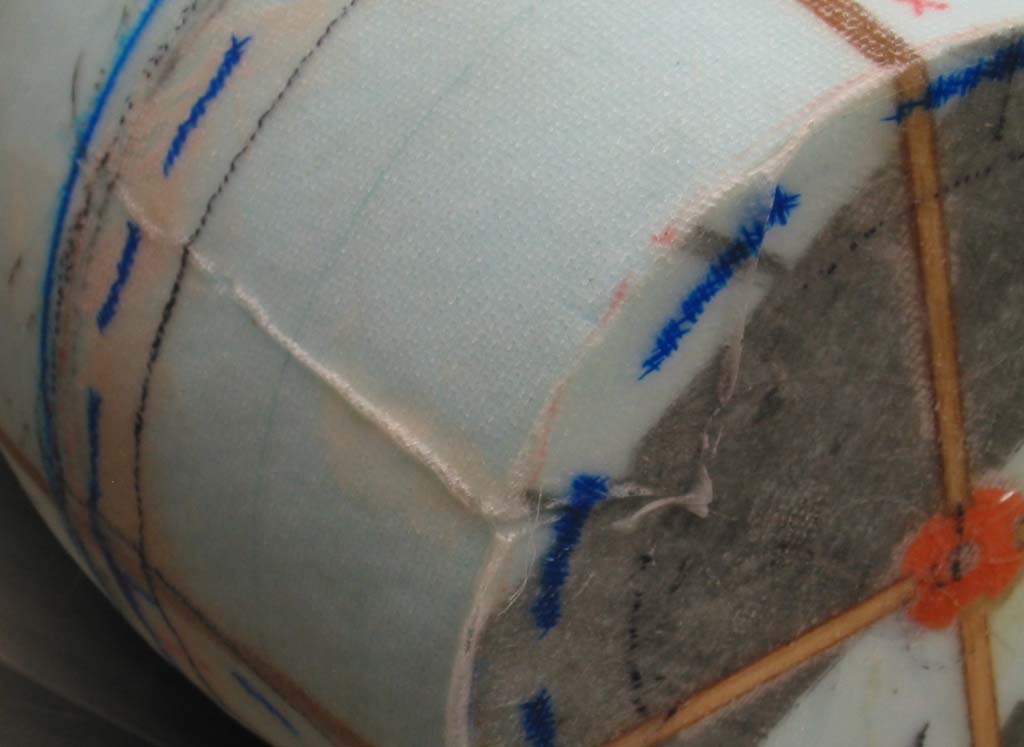
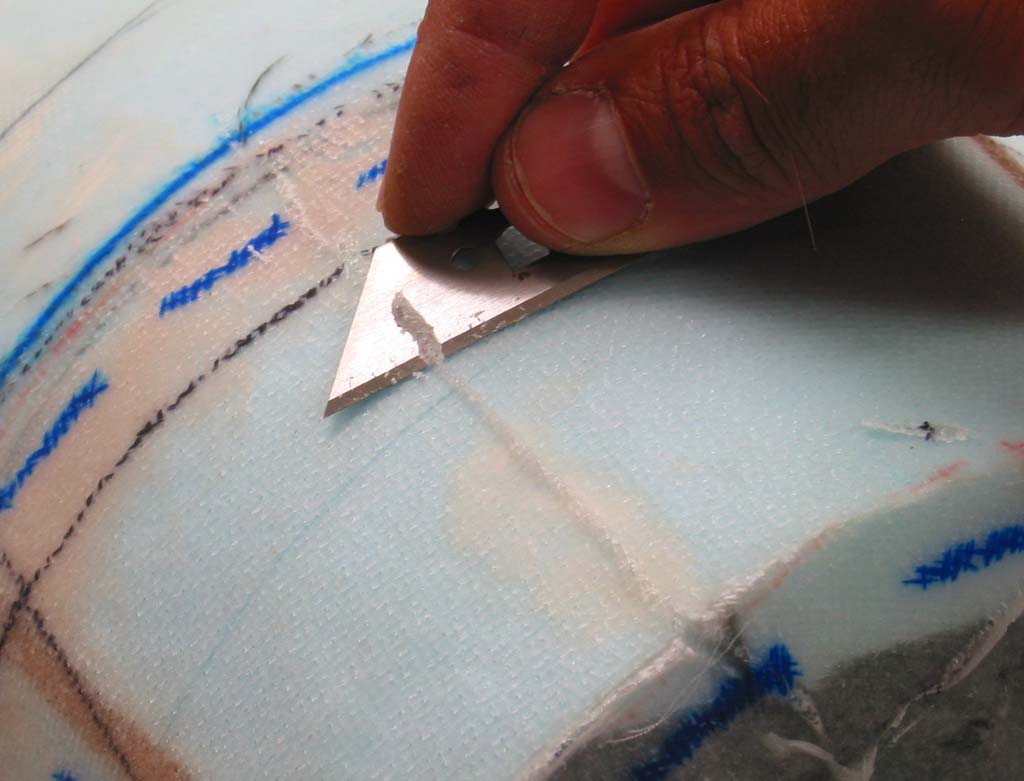
Not too bad! Just a few small wrinkles. Them can be trimmed now fairly easily, while the resin is green, with a utility knife blade.
 |
 |
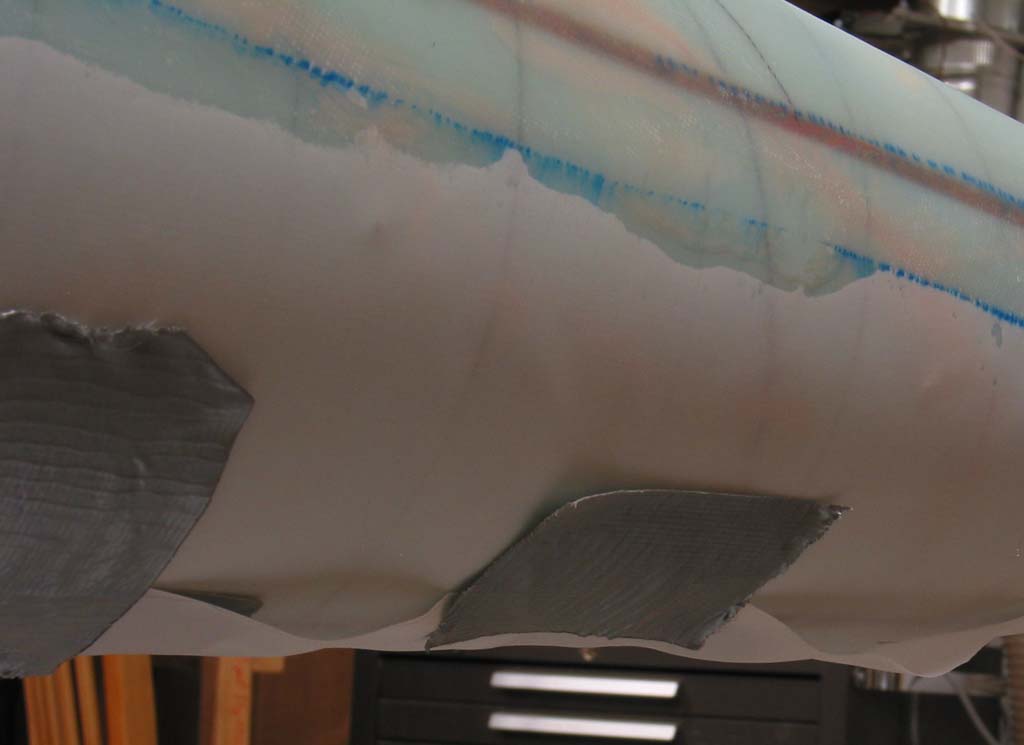
This photo is from a prior layup which wasn't vacuumed, and which extended beyond an edge, showing how easy it is to trim epoxy/glass before it's fully cured.
 |
 |
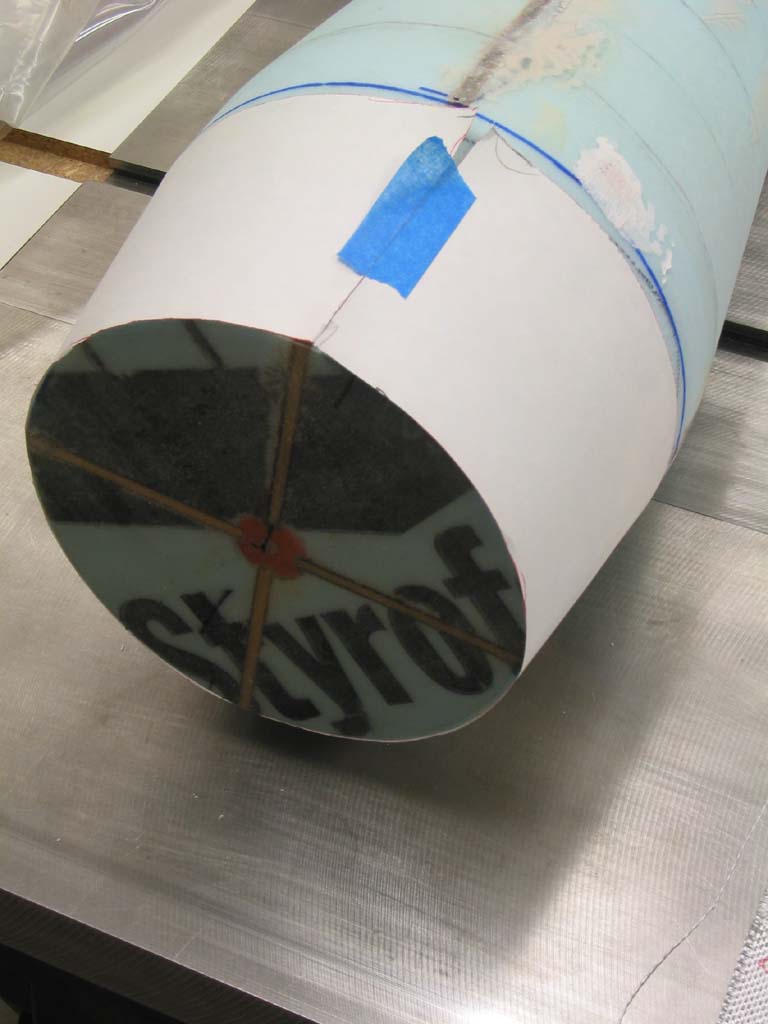
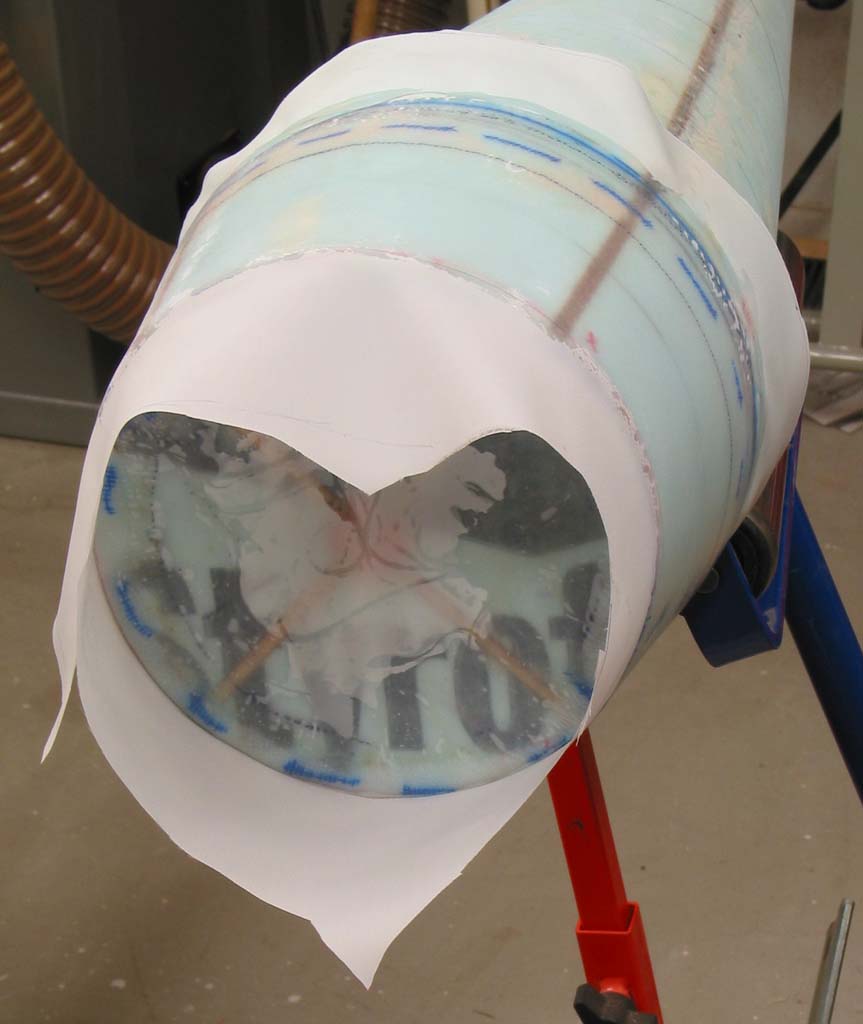
In previous photos you'll note that the solid wood nose cone tip is attached. With the inward step, fiberglassing and sanding proved difficult, so I cut it off, and installed a 1/8" plywood plate. This allows the glass to extend in a smooth transition off the end for easy layup and trimming. I made another plate, slightly conical and just under that plate's diameter, wrapped it in Saran Wrap, and put it over the end, to support the resin/glass when curing, and to keep it off the face of the plate. |
The easy way to align glass: mark a centerline, roll it up on the line, mark a centerline on the part, then unroll it onto the wet resin. And the easy way to align release fabric (which is floppier than glass) is to stretch it between a "frame". This layup of the final layer doesn't use a vacuum bag, so as to leave a wetter topcoat without the pinholes, so I did only half the circumference at a time, then stretched the release fabric tight and held it with duct tape.
 |
 |
 |