Before reading any of this, please refer to the far more complete Backsaw Web Pages of the Norse Woodsmith web site.
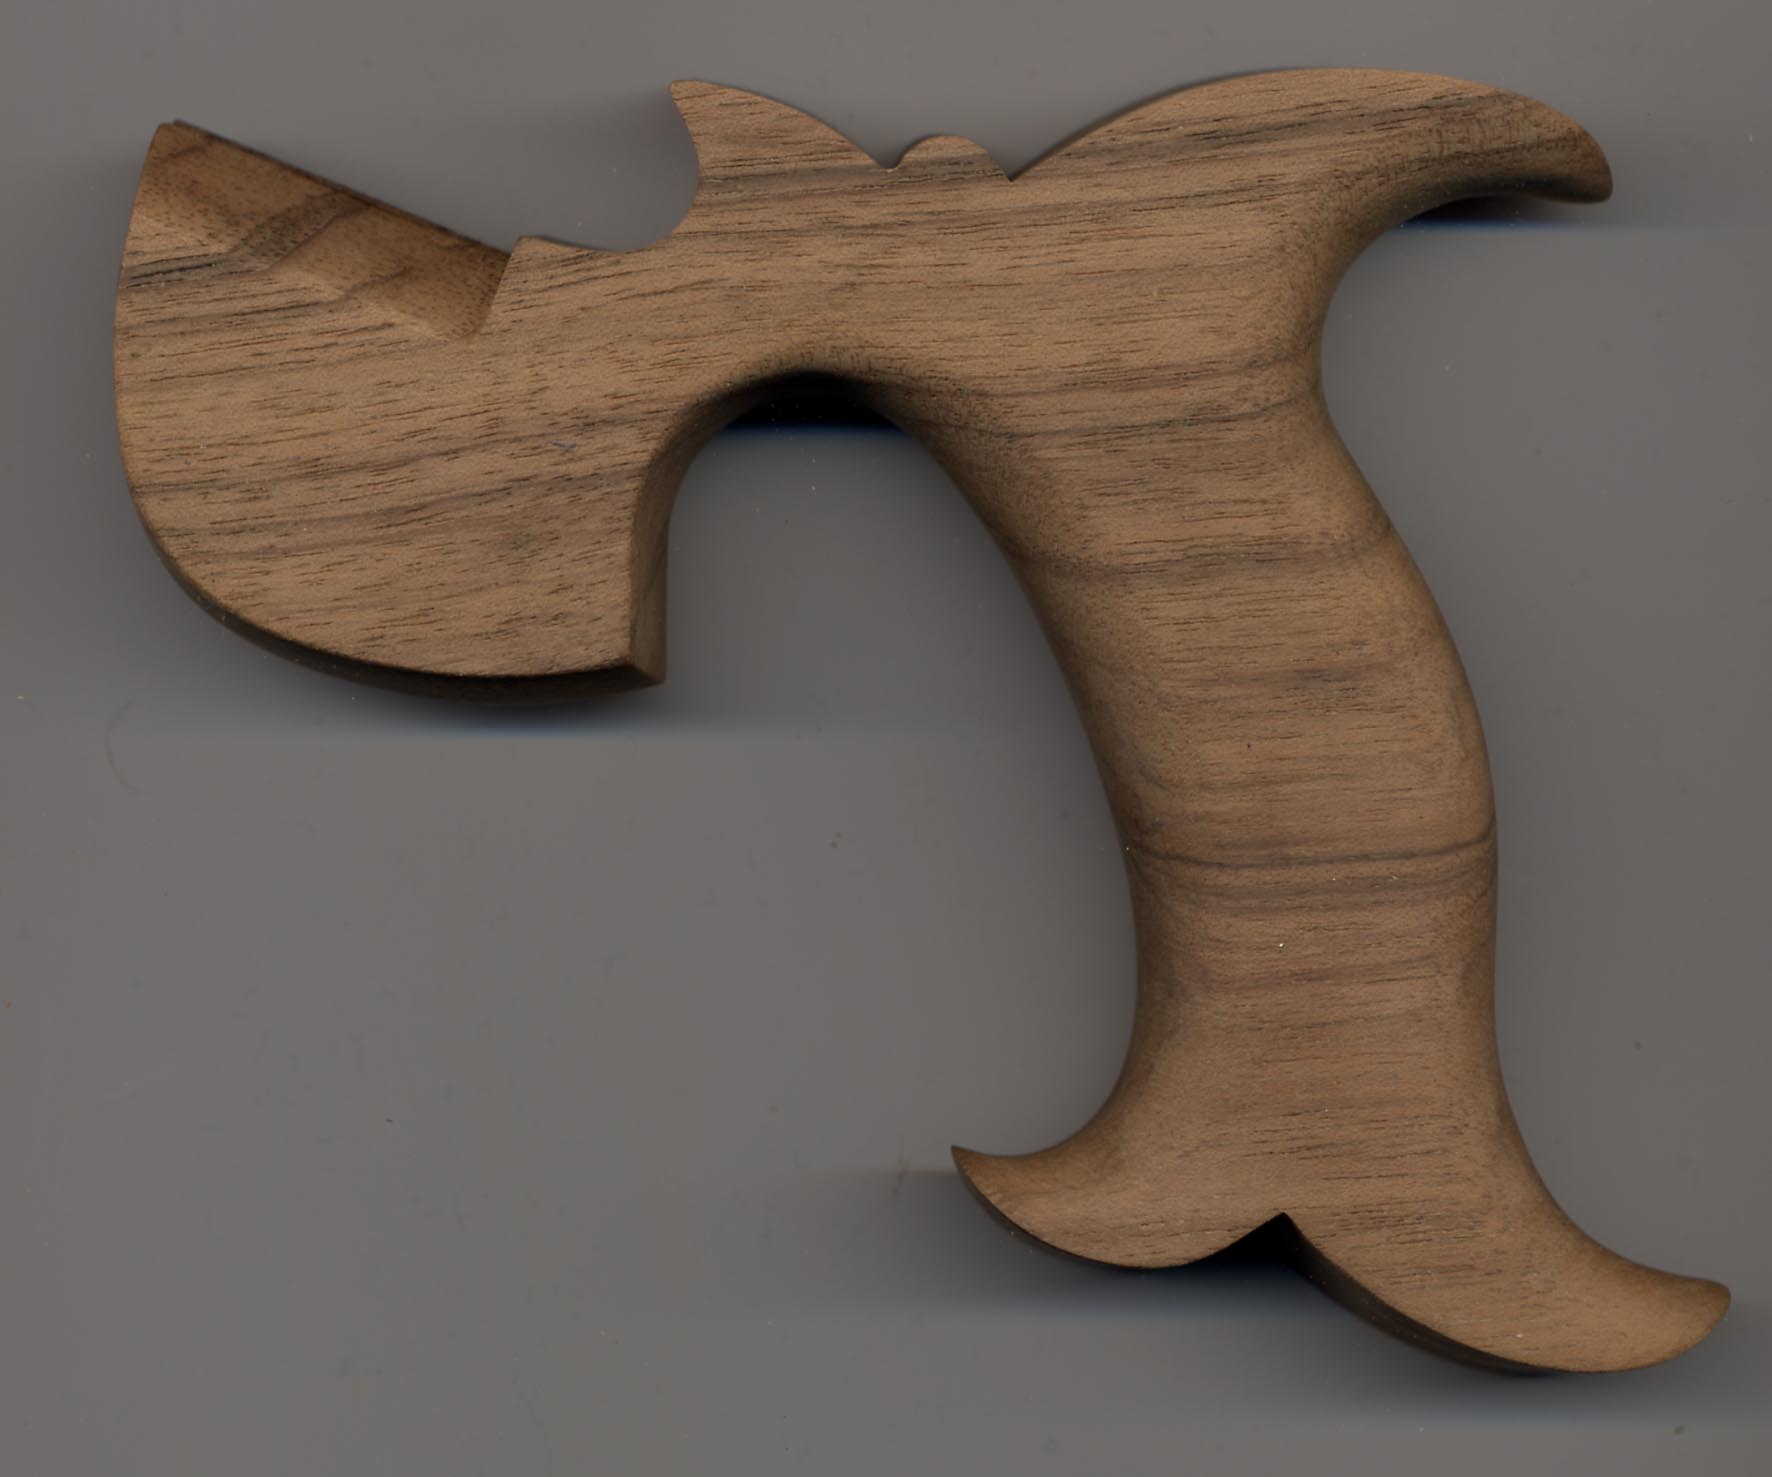
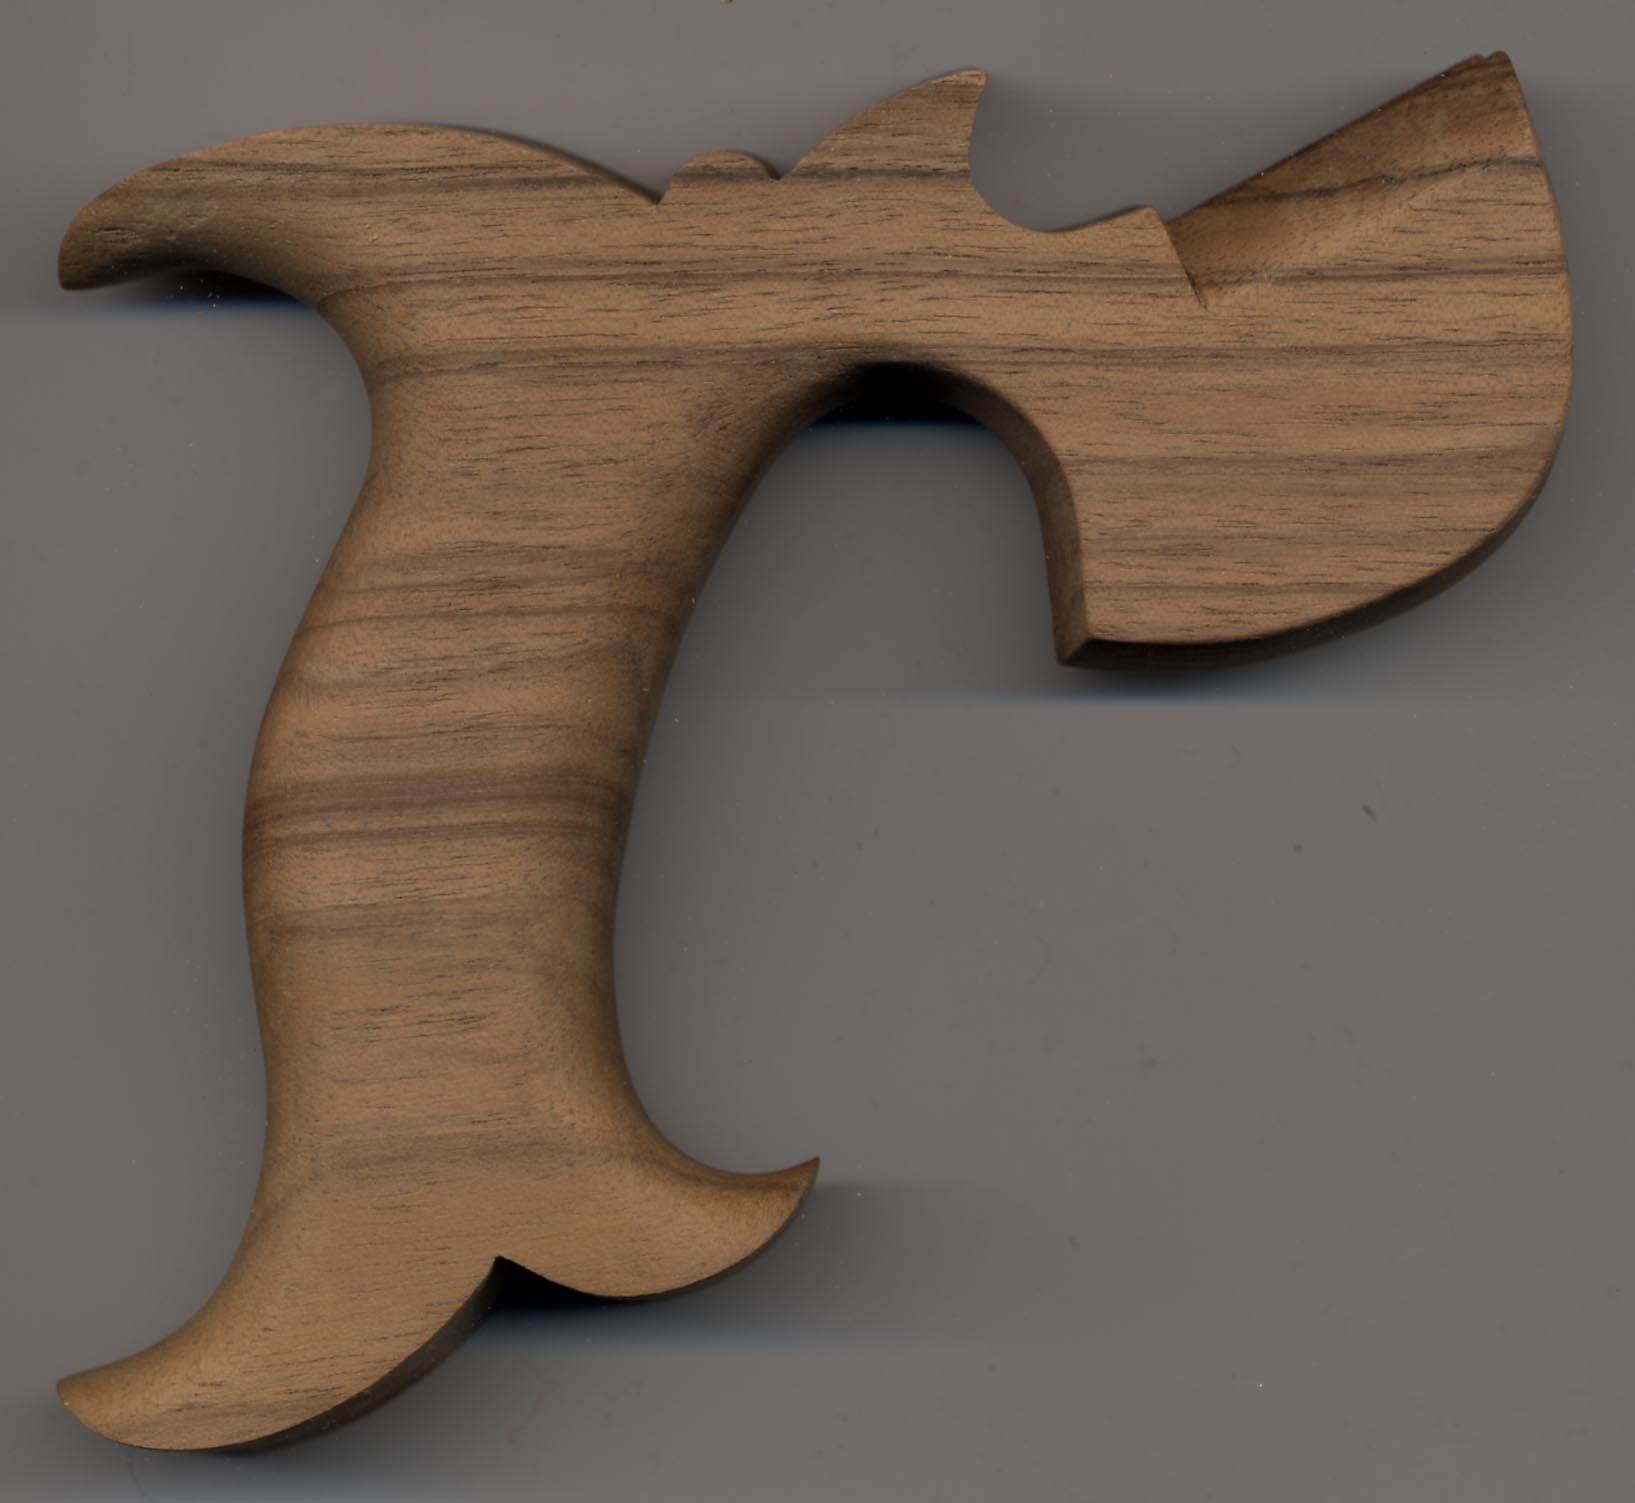
The handle I made for a 10" dovetail saw and a 12" carcass saw. Click images to expand. Full-size images can be downloaded and printed at 300 pixels per inch to get full size. Be aware that web browsers won't necessarily scale images correctly when printing.
|
|
|
 |
Here is the template I made, including tabs for mounting screws. The tabs are cut off later. I encourage you to make a throwaway handle or two to try the process and test the fit in your hand. Commercial designs, either modern or historical, are a good place to start. The Norse Woodsmith has a handle on its backsaw handles section based on Buck and Disston models. Personally, I prefer a less pronounced hump mid-palm than many saws I've held. |
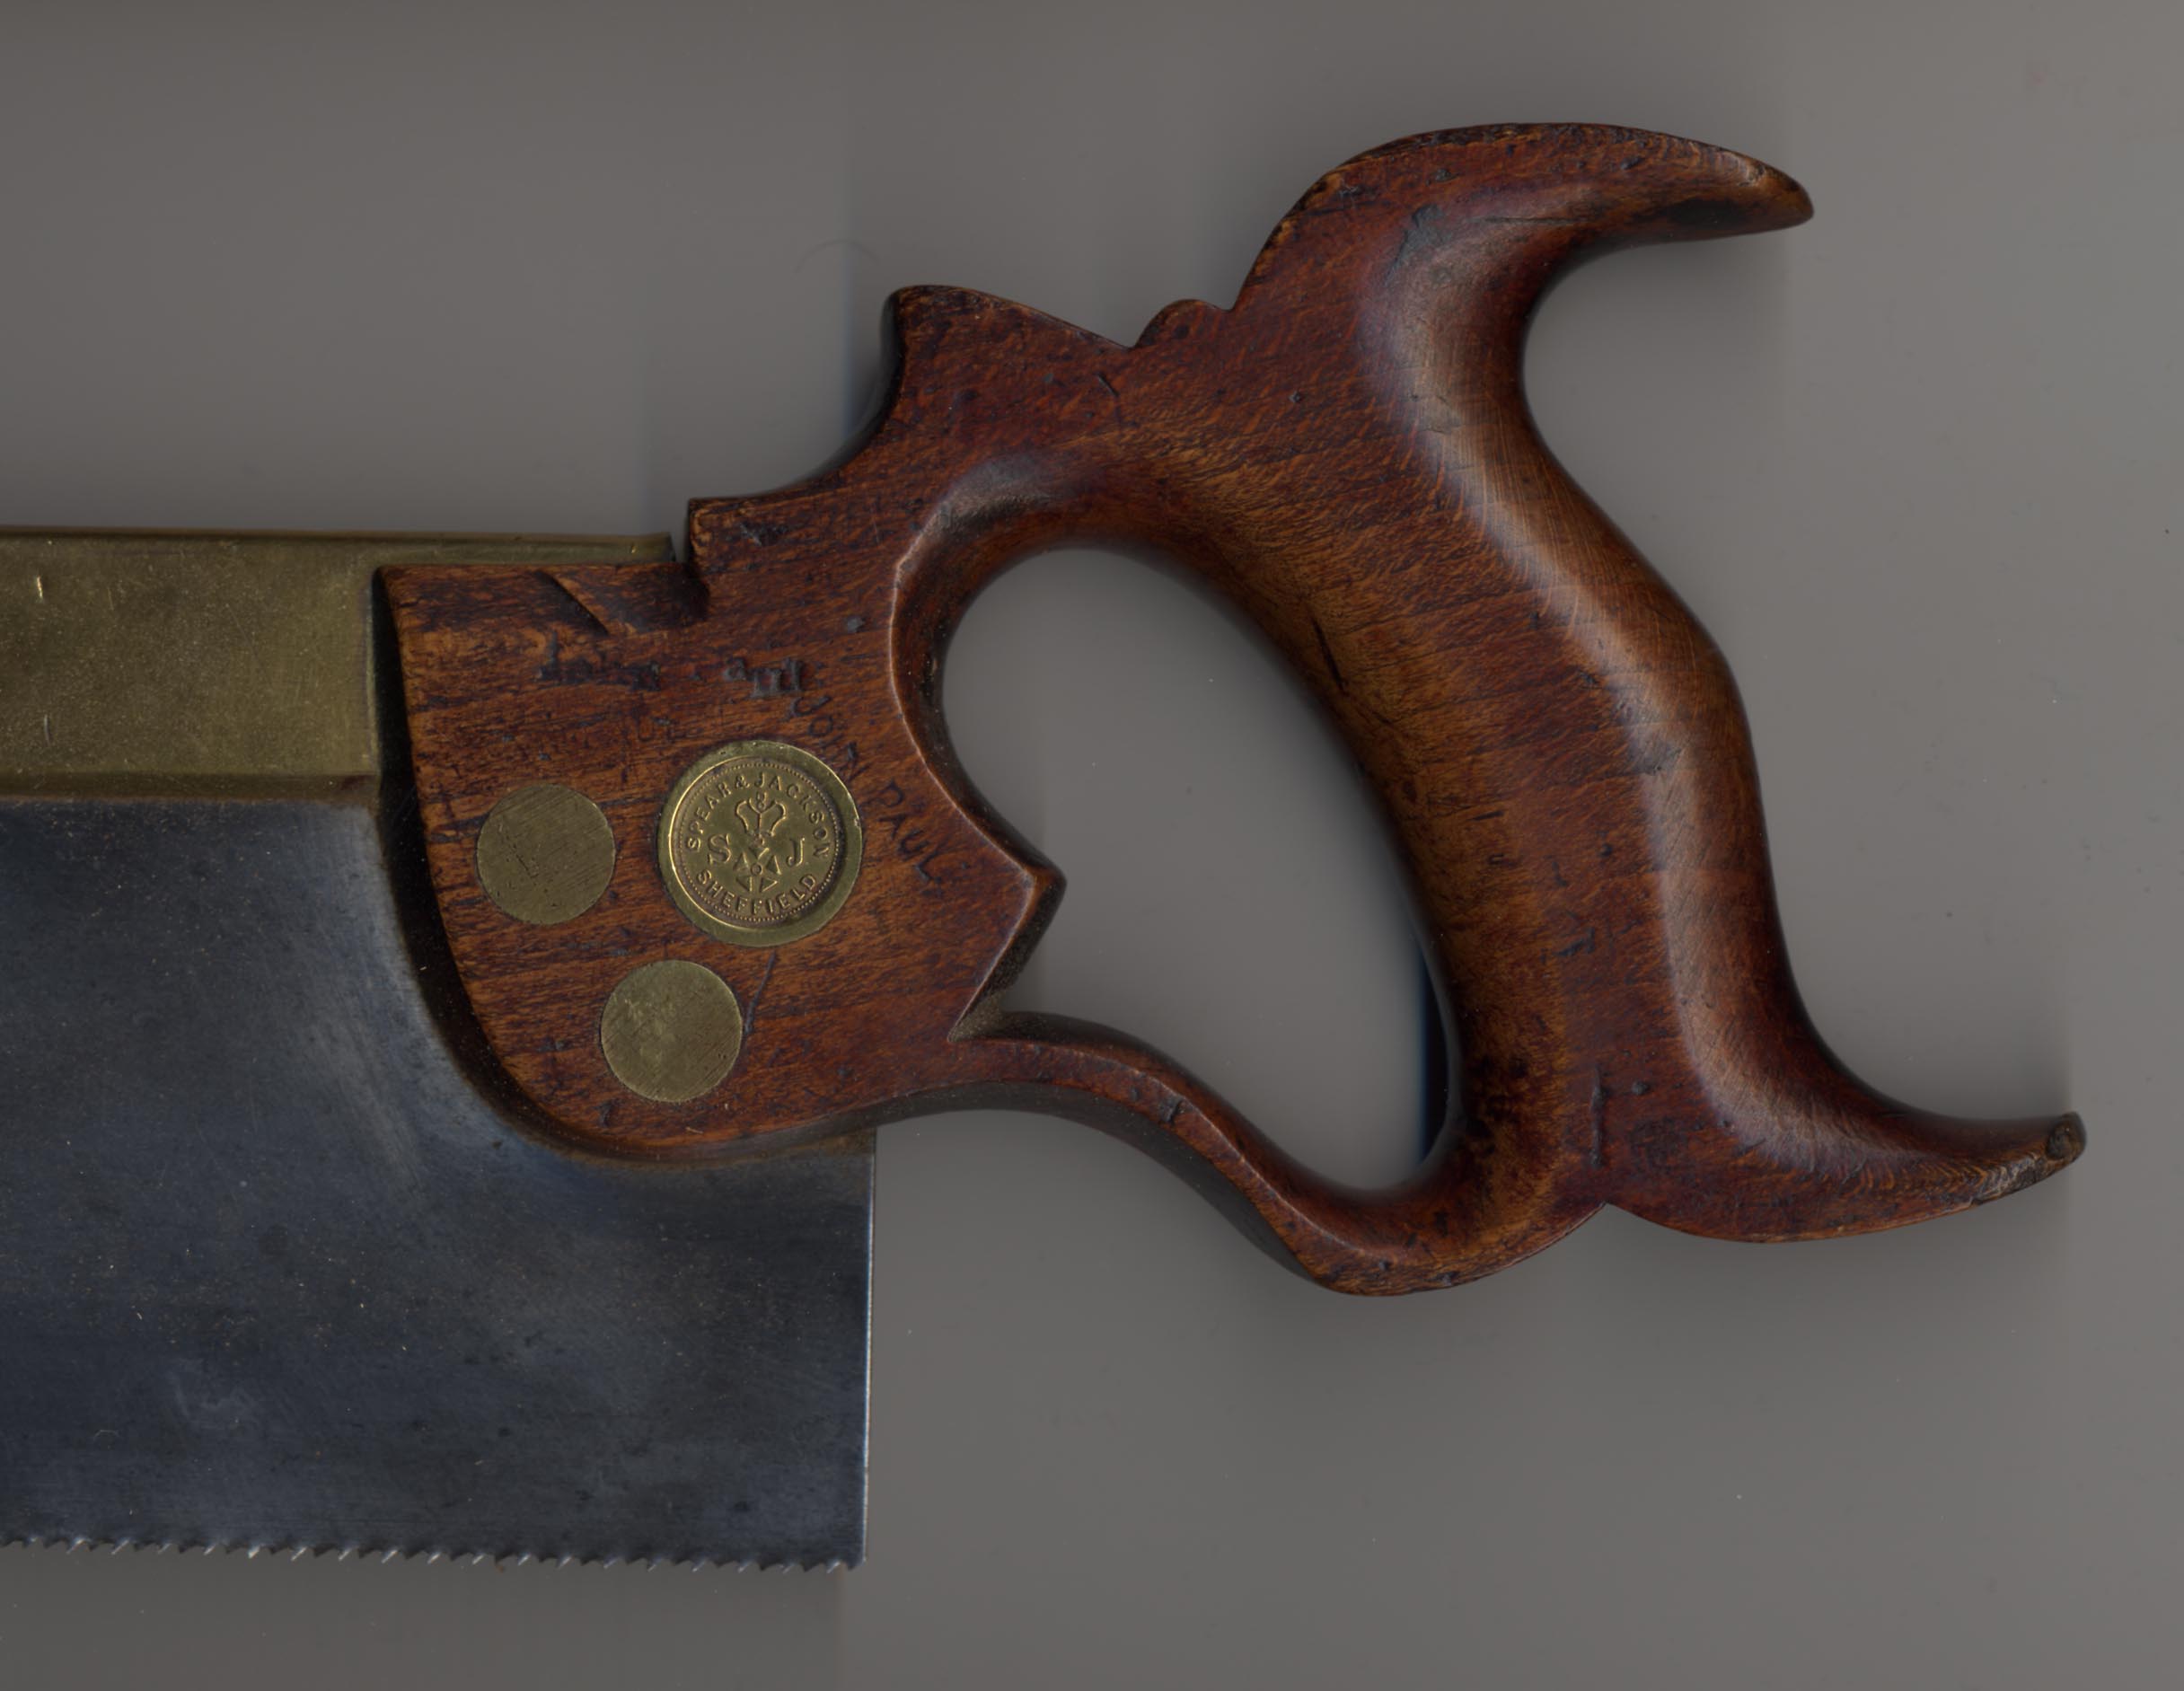
Some commercial makers: Lie-Nielsen 9" dovetail saw, followed by a Spear & Jackson 14" tenon saw. (Thanks, Dean.)
 |
 |
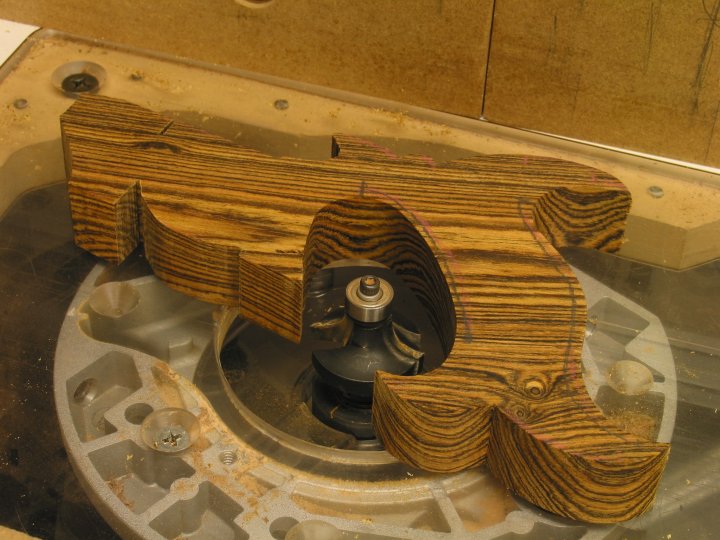 |
I cut the profile using a template, since I had several handles to make. Here is a page describing my process. You can also cut your handle profile using Forstner bits, drum sanders, rasps, files, sanding fids, or whatever you like. When the profile is prepared, you can use a roundover bit in a router table (or freehand, if you can get your workpiece to stay put) for the portions of the handle surrounding the grip. Exercise caution and take light passes with the router, especially on tight inside curves. If you like to live dangerously, and have more stock in case you screw up this piece, go ahead and make complete passes. A wiser approach is to omit the "uphill" cuts (e.g. the tip of the upper horn on the left, the tip of the lower rear horn on the right), leaving them to be completed with a rasp. Notice that I have left stock on the blade "cheeks". This gives reference surfaces when later clamping for cutting the mortise which will surround the brass back. |
 |
| The horns taper to an elliptical tip, so file them with a rasp or belt sander. A Nicholson #49 or #50 rasp is a very nice tool to use here. Follow up with subsequently finer files on all surfaces, checking frequently to see how it fits your hand. This is the fun part! |
 |